Optical Micrometer for the final measurement of discrete parts during lengthwise transport
μMETER-SLM product series is used for the non-contact final measurement of discrete parts lengths in the production process, while transporting the discrete parts in longitudinal direction. The highly accurate measurement of the optical light scanner generally serves the production optimization, the good/bad sorting as well as the documentation of the delivery condition of discrete parts. The SLM product series is based on a worldwide unique LED length-section light scanner measurement technology called Optical Micrometer/Measuring Light Scanner. SLM systems are maintenance-free, permanently calibrated and measure largely independent of material. SLM systems are used for the highly accurate, non-contact length measurement of profiles, tubes, plates, beams, bolts, struts, hubs made out of a wide variety of materials. SLM length-section light scanner for discrete part length measurement are available in two versions. By the standard SLM system, discrete parts up to approx. 5 m in length can currently be measured, depending on the system length. The two-parted SLM/2 systems are used for the re-measurement of discrete parts with a length longer than 5 m, or when no continuous SLM measuring arrays can be used.

Product Types – Length-Section Light Scanner Discrete Part Length Measurement System
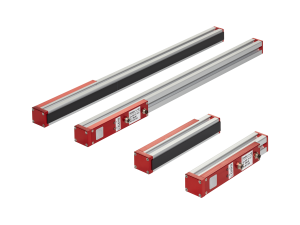
µMETER-SLMStandard SLM systems with continuous transmitter and receiver arrays for a highly precise final measurement of discrete parts being transported in longitudinal direction – measurement of plates, profiles, tubes, beams, bolts, rolls, … up to a maximum of 5 m length
|
 |
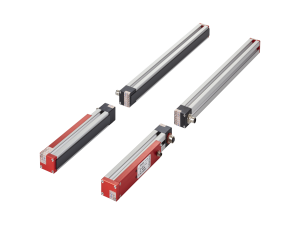
µMETER-SLM/2SLM System with two-parted transmitter and receiver arrays for a highly accurate final measurement of discrete parts up to 15 m being transported in longitudinal direction
|
 |
Technical Data – Length-Section Light Scanner Discrete Part Length Measurement Systems
| µMETER | SLM-L0.1 | SLM-L4.8 | SLM/2-Lx |
|---|---|---|---|
| System Components | Transmitter and Receiver Arrays | Transmitter and Receiver Arrays | Two-Parted Transmitter and Two-Parted Receiver |
| Types | shortest SLM System | longest currently available SLM System | Measurement Range of max. 4,5 m (e.g. for part lengths of 10 m to 14,5 m) |
| Measurement Material Length | 10 mm to 126 mm | 10 mm to 4.860 mm | Based on the Project |
| Systematical Measurement Accuracy | ± 0,1 mm/m | ± 0,1 mm/m | typically: ± 0,1 mm/m (Based on the Project) |
| Repetitive Accuracy | ± 0,03 mm (confidence interval 1σ) | ||
| SLM Arrangement of Transmitter and Receiver to each other | horizontal, vertical or diagonal | ||
| V-Measurement Range | 0,1 m/min → 250 m/min | 0,1 m/min → 100 m/min (higher Vmax on request) | Depending on Sensor Length and Module Distance |
| Measurement Distance between Transmitter and Receiver Array | 150 mm to 1.000 mm | ||
| Interfaces | 1 x RS-485 | ||
| I/Os | Input: Start, Gate, Calibration Output: Status |
||
| I/O Type | RS‐422 Gauge | ||
| Available Data | Speed, Length, Signal Quality, Status, Valid Measurement | ||
| Feldbus | Optional: Profibus-DP, ProfiNet‐RT, Ethernet‐IP, … |
||
| Protection Class | Sensor Lines: IP50 | ||
| Dimensions (LxWxH) |
Sensor Lines: 30x30mm Profil cross section, Bosch-Rexroth, Length depending on maximum measurement material length | ||
| Power Supply | 12 – 24 VDC | ||
| Weight | Sensor Lines: Depending on length – ca. 1 kg per meter of gauge array | ||
| LED Data | 5mW, Infrared | ||
| Ambient Temperature | 5 to 55°C ‐ not condensing, outside of temperature range external cooling / heating required | ||
| Humidity | Environment should be dry | ||
Accessories for Length-Section Light Scanner Discrete Part Length Measurement Systems
Standard Interface |
|
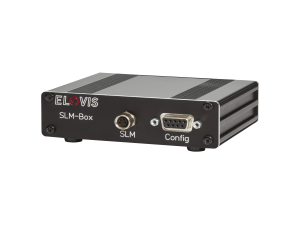
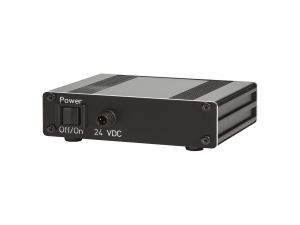
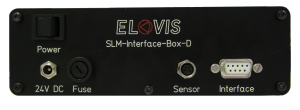
Interface Box for PC Operation SLM-BOX |
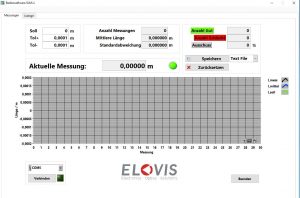
Interface box for connecting the SLM system to a PC or laptop. Allows for easy connection and supply of the SLM sensor. With RS485 output interface and plug-in power supply. |
Sensor Cable |
| Shielded Cables
SLM-K3, K10 |
Sensor cable for connecting the two SLM sensor lines with each other and for connection to an interface such as SLM box or bus module, a controller or a display. | 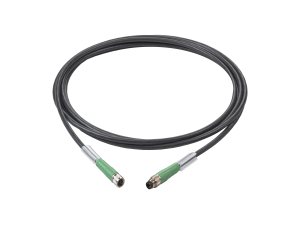 |
Displays and Control Units |
| Length Display
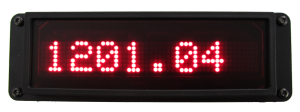
SLM-DISPLAY-BOX |
Interface box with length display for connecting the SLM system to a PC or laptop. Box with RS485 output interface and plug-in power supply. | |
| Sorting Control
SLM-SPS |
The SPS sorting control for the SLM sensors provide the following features:
|
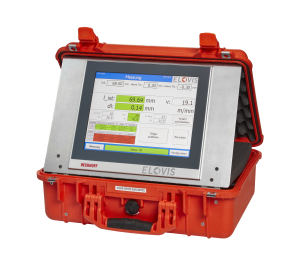
Mobile Equipment |
Software |
Feldbus and Communication Modules |
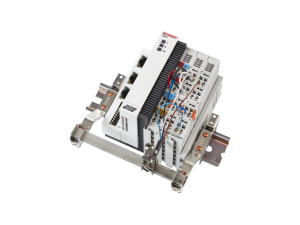
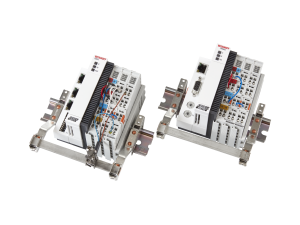
| Profibus-DP, ProfiNet-RT, Ethernet-IP
µSPEED-PB, µSPEED-PN, µSPEED-EN |
Standard bus interface modules with the following output: Length (in m) , speed (in m/s), status signal (valid/invalid) |
Protective Casing |
Conveyor Technology and Sorting Technology |
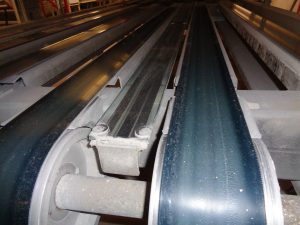
| Conveyor Technology and Sorting Technology | Conveyor technology, conveyor belts, carriages, slide rails, push-out devices and sorting machines are offered together with experienced partner companies. |
Length-Section Light Scanner Discrete Part Length Measurement Systems
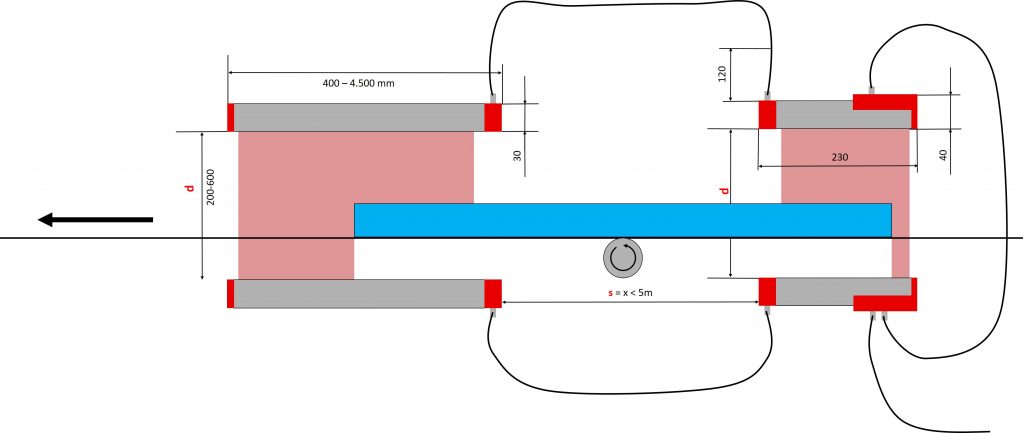
The discrete part to be measured passes through the SLM System without stopping in longitudinal direction. As soon as the discrete part is located completely between both sensor arrays (a light transmitter array and a receiver array), a measurement is automatically triggered. To ensure that the measurement takes place with high accuracy, the discrete part already has to be separated while in supply, however, a distance between two subsequent discrete parts of only 10 mm to 50 mm is sufficient. In addition, the measurement object should pass the SLM system as straight as possible. Because the SLM system measures the shadowing of the measurement object in the transmitted light, if the measurement object is twisted or inclined, the measured projection can cause a measurement error. Furthermore, it is beneficial if the edges of the measurement object are cut at right angles and there are no ridges, cutting waste or chips left over on the front surface. The active measurement light line is only 2 mm high and is located in the middle of the sensor profile, which has a cross-section of 30 x 30 mm. The sensors are called “optical micrometer” or “measuring light scanner” for non-contact discrete part length measurement.

SLM/2 – Measurement Principle (Sideview):
Videos – Length-Section Light Scanner Discrete Part Length Measurement Systems
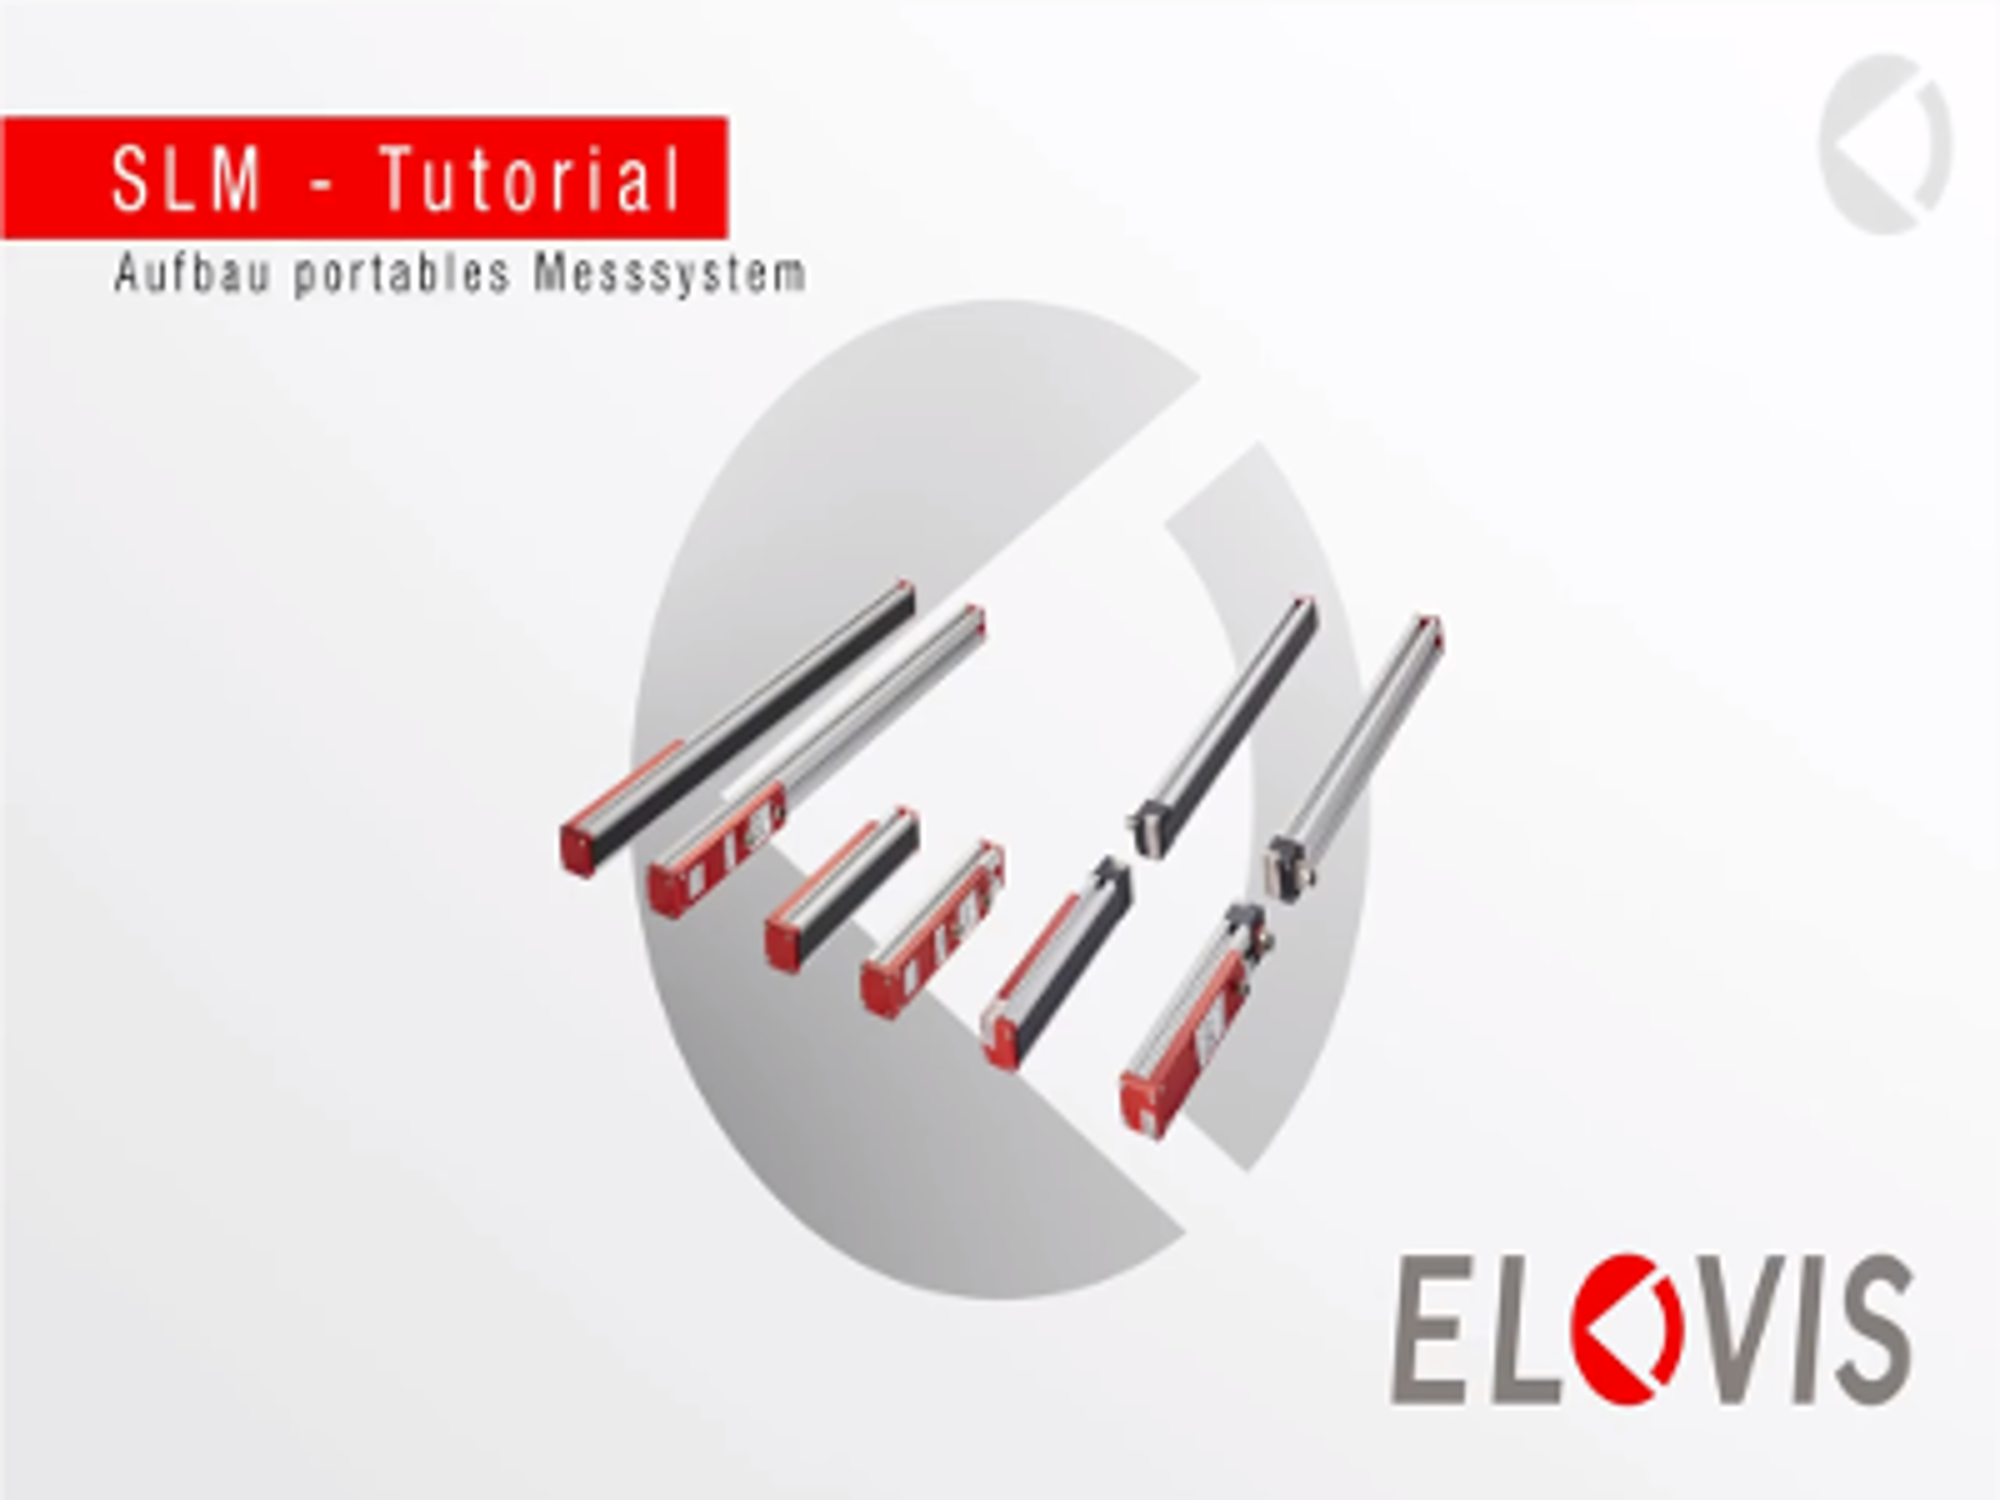
| Product-Tutorial – SLM
Length-Section Light Scanner Part Length Measurement Systems – SLM Setup |
 |
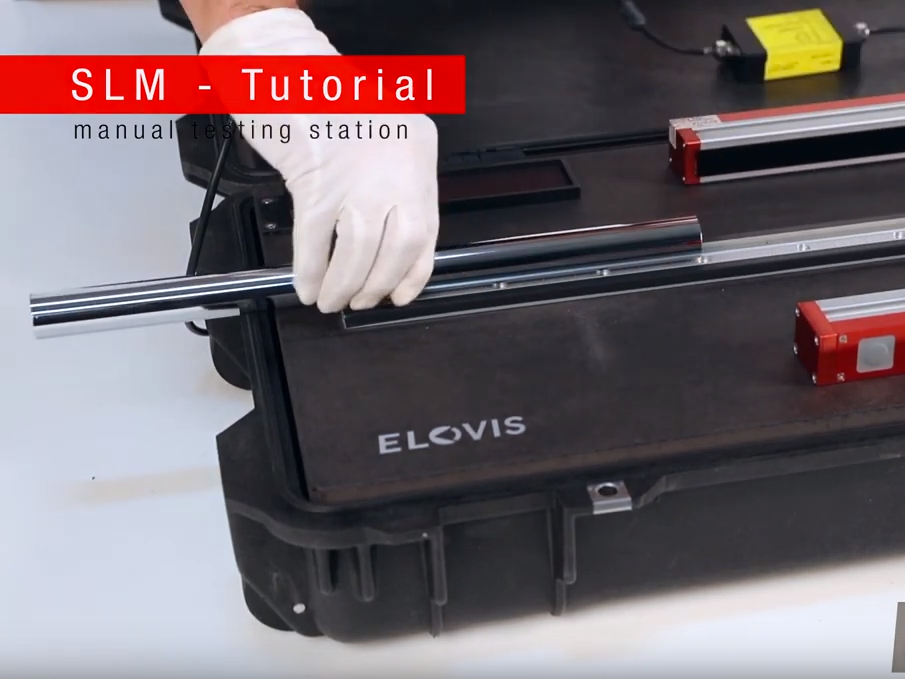
| Application Video – SLM
Length-Section Light Scanner Part Length Measurement Systems – Manual Tube Measurement |
 |
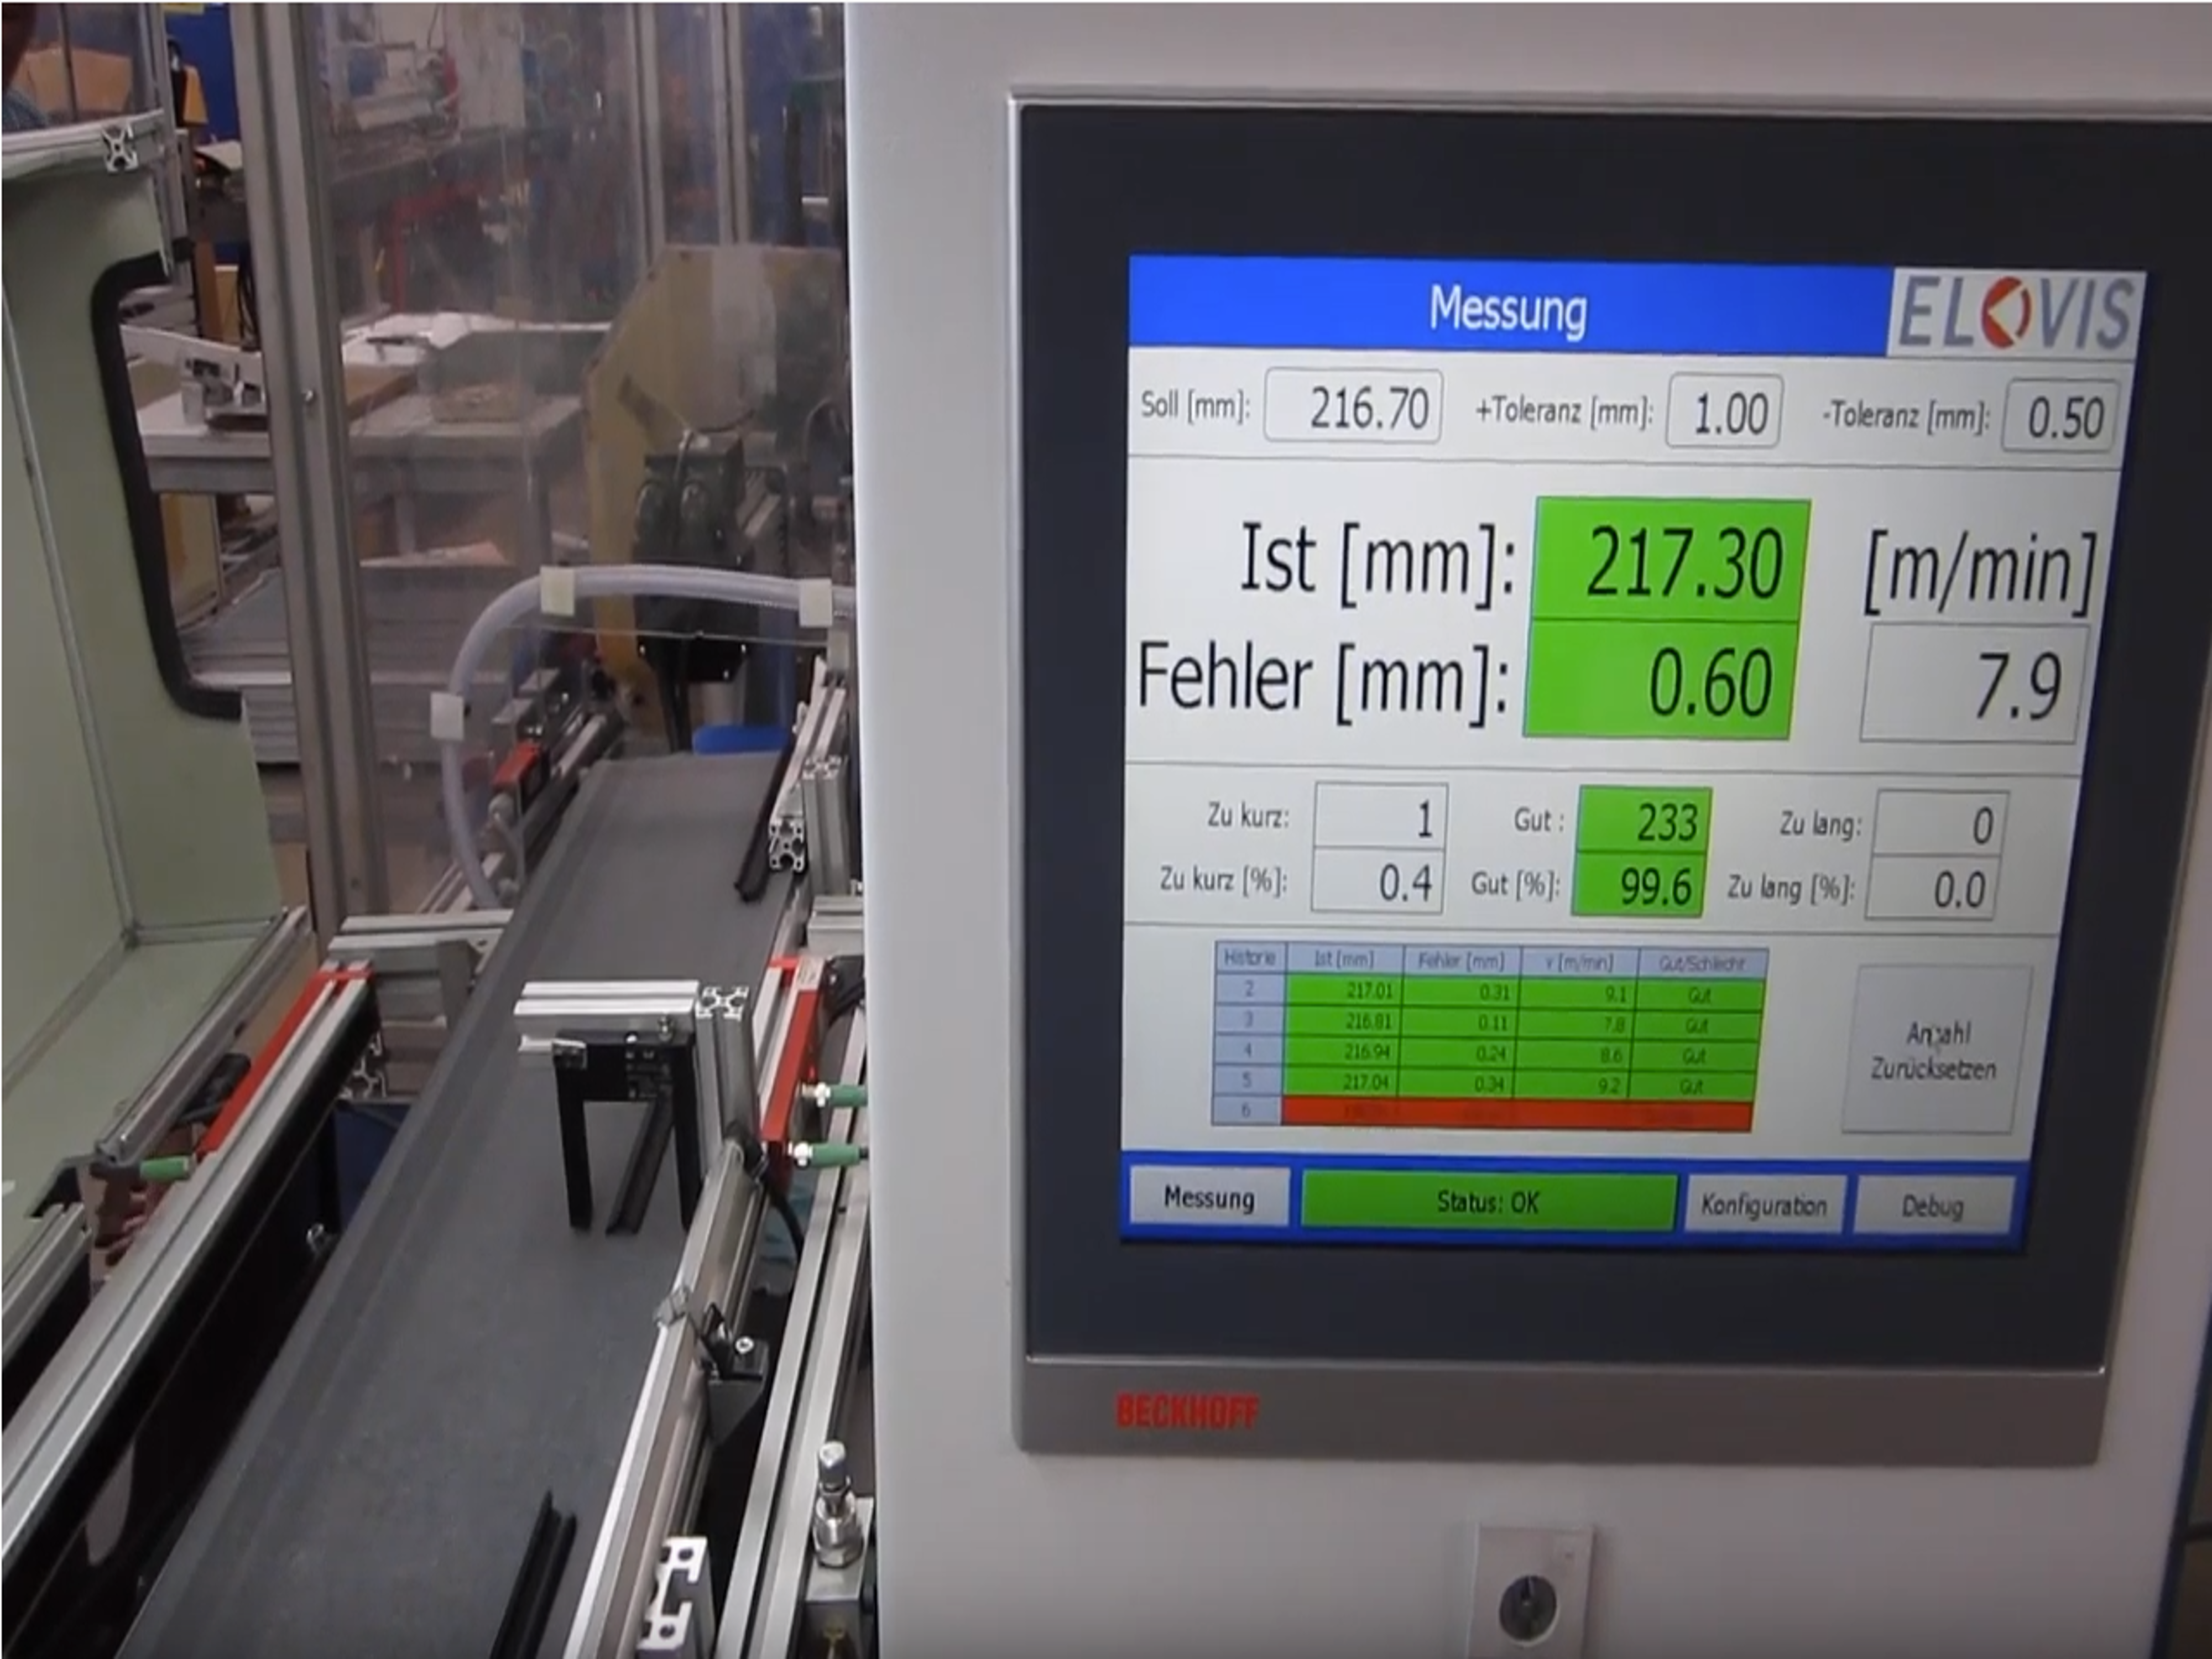
| Application Video – SLM
Length-Section Light Scanner Part Length Measurement Systems -Measurement of profile length with SLM |
 |
| Application Video – SLM
Length-Section Light Scanner Part Length Measurement Systems Measurement of film sheet length after cutting, before sorting/packaging |
 |
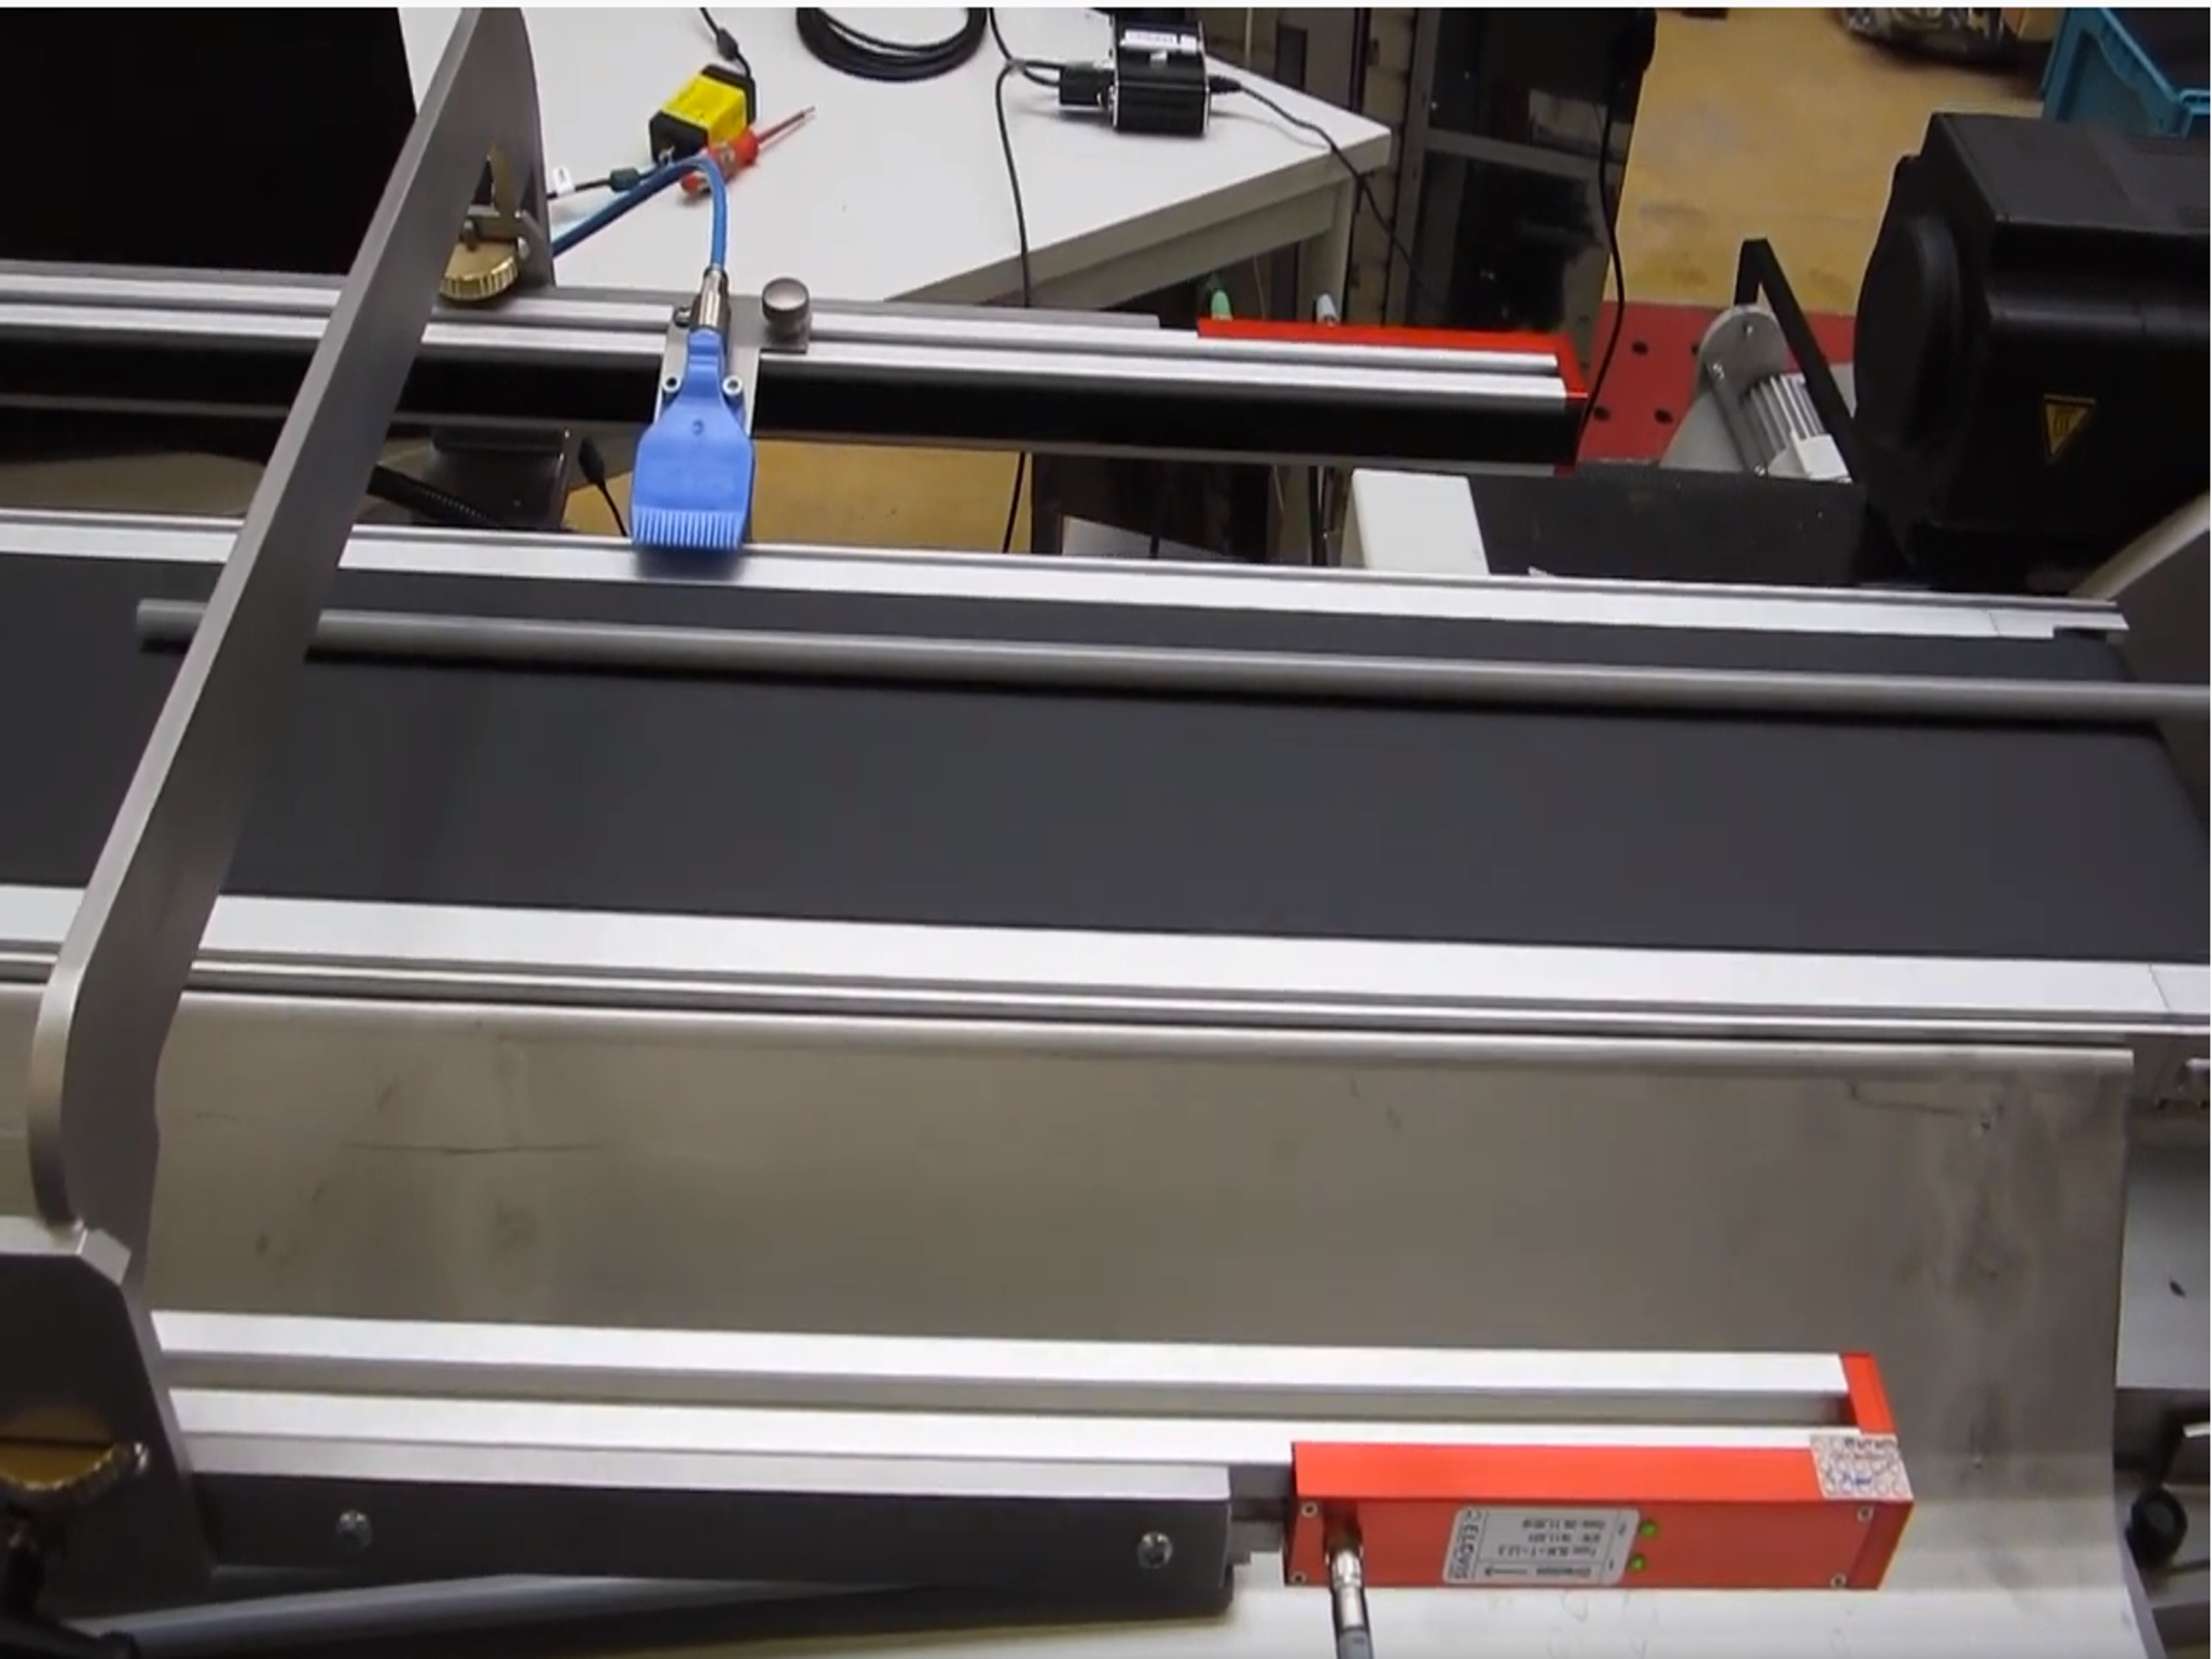
| Application Video – SLM
Length-Section Light Scanner Part Length Measurement Systems Length Measurement on cut tubes |
 |
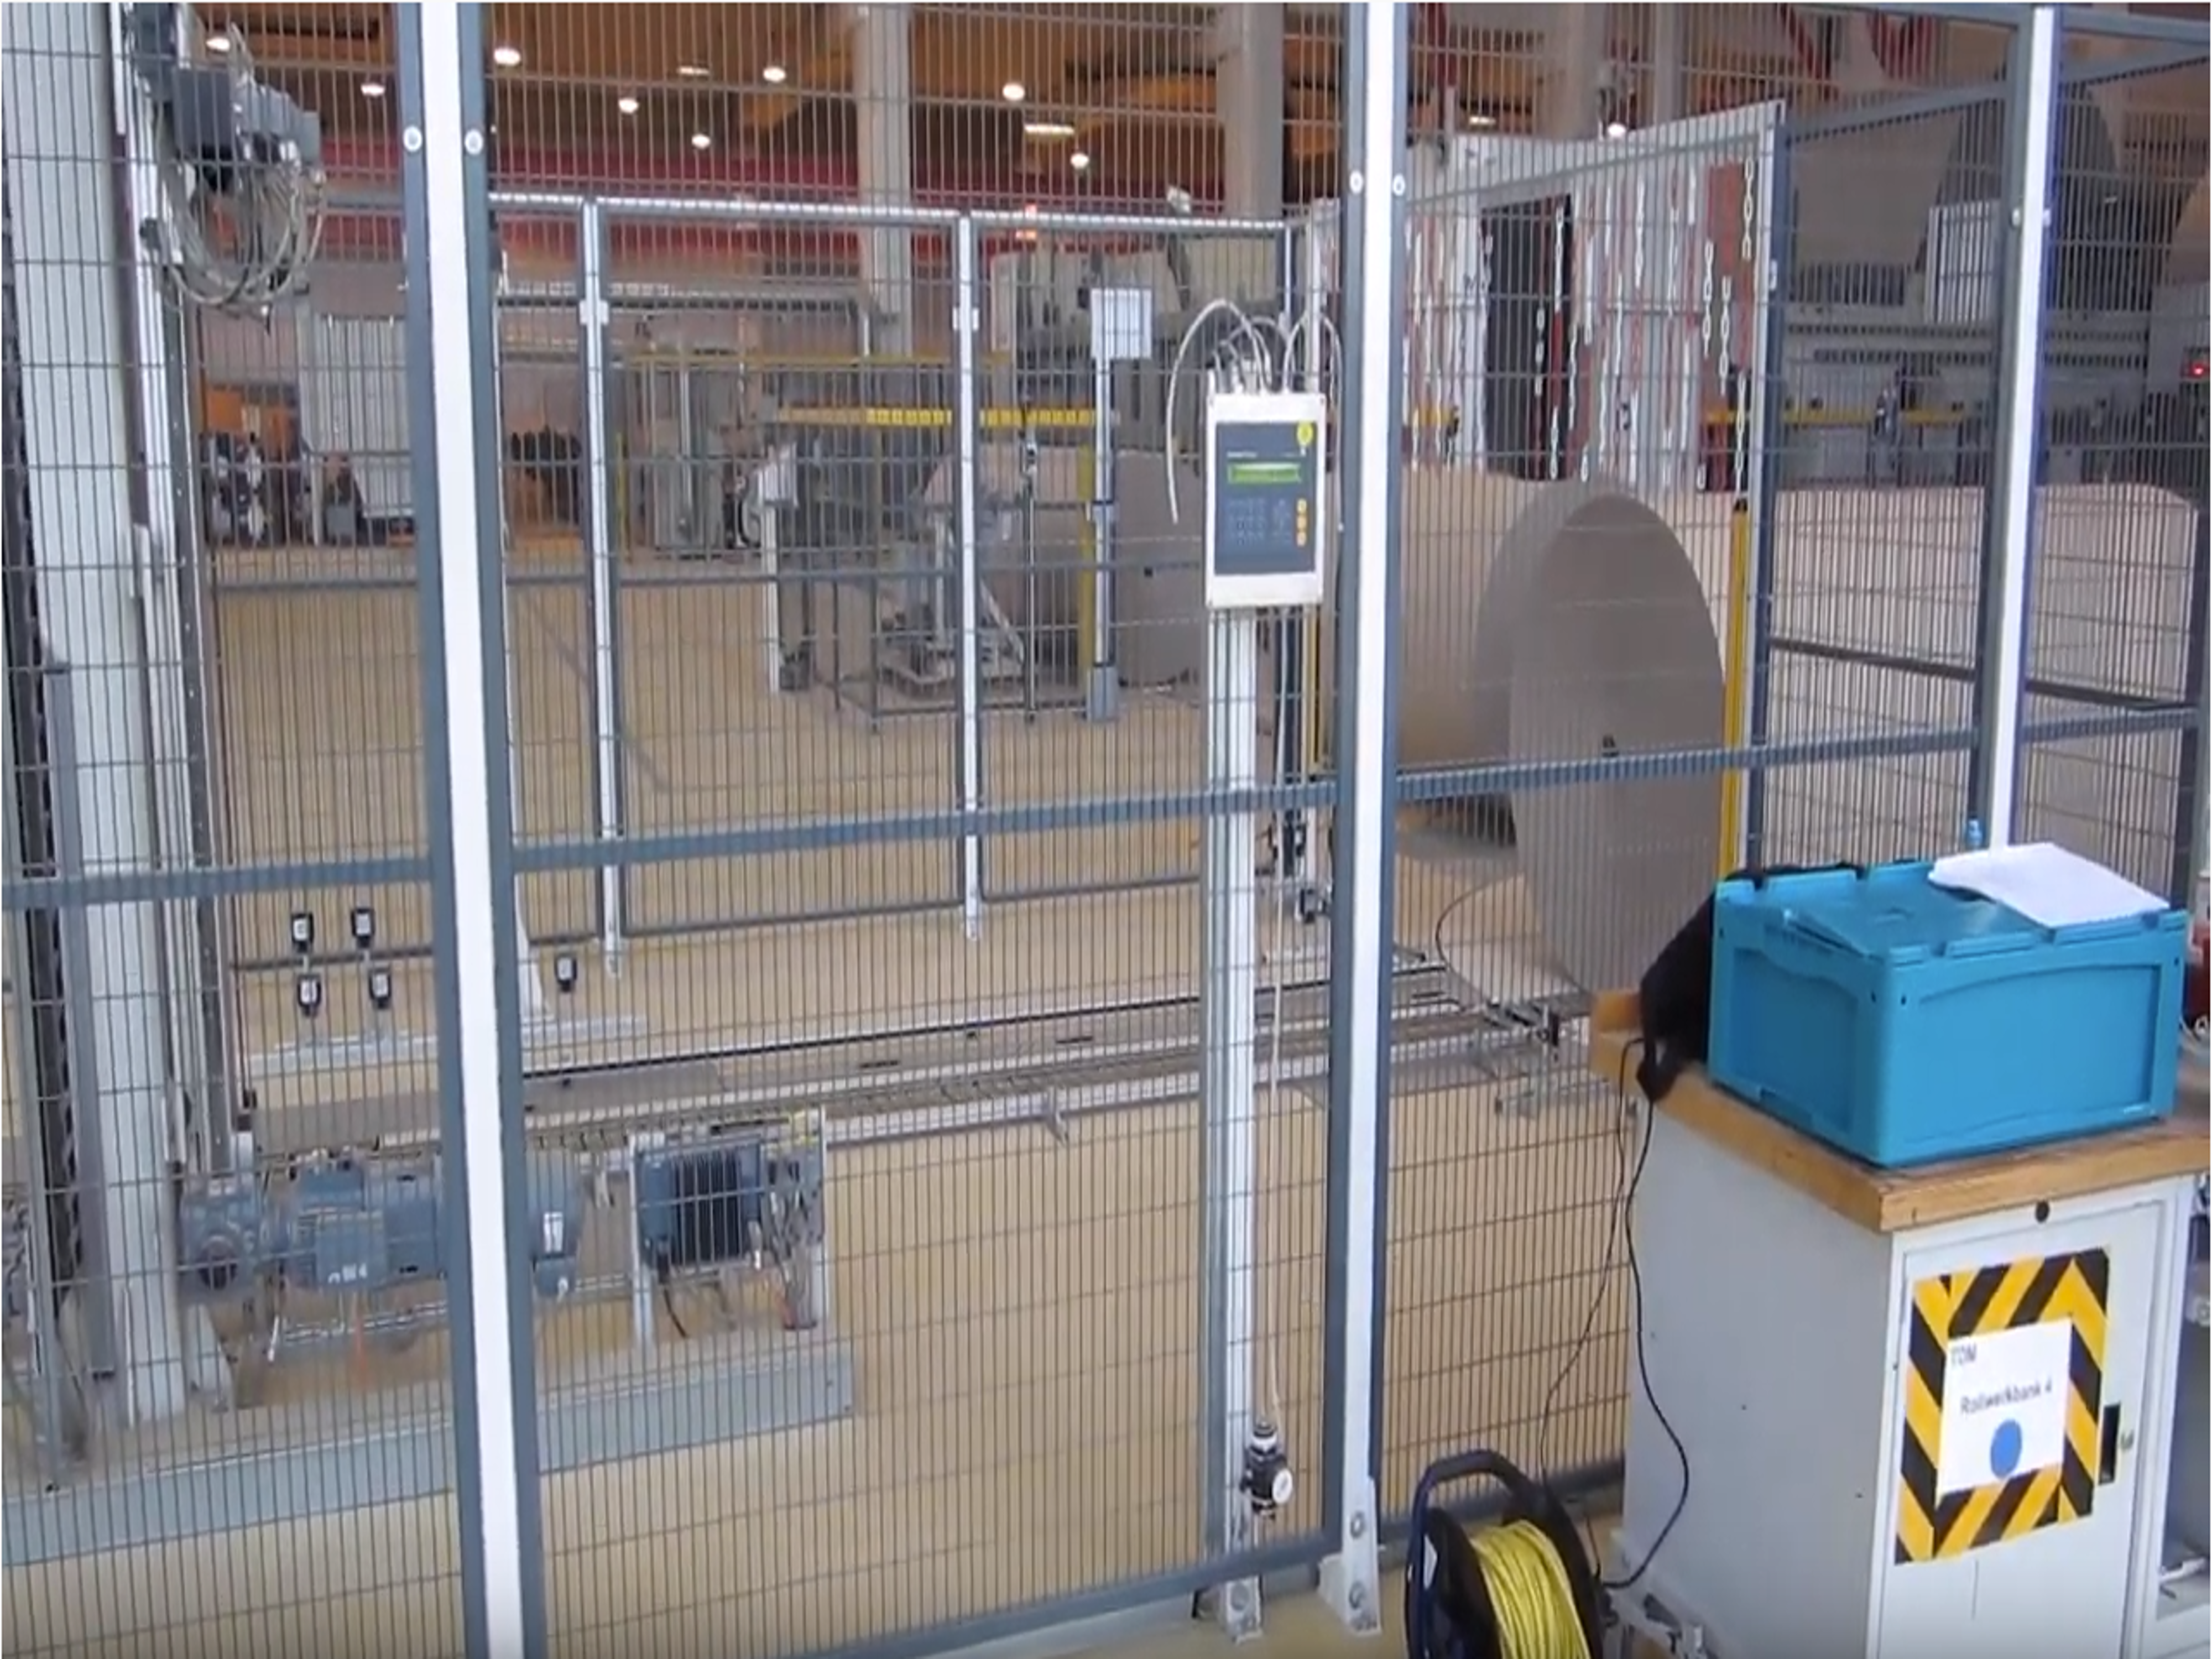
| Application Video – SLM
Length-Section Light Scanner Part Length Measurement Systems Width Measurement of rolls |
 |
| Application Video – SLM
Length-Section Light Scanner Part Length Measurement Systems Part Length Measurement on short plastic profiles at high speeds |
 |
| Application Video – SLM
Length-Section Light Scanner Part Length Measurement Systems Part Length Measurement of 354 mm long plastic profiles after extrusion and cut |
 |
| Application Video – SLM
Length-Section Light Scanner Part Length Measurement Systems Small tubes in manual part guidance |
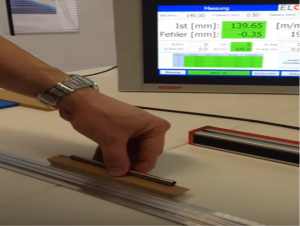 |
| Application Video – SLM
Length-Section Light Scanner Part Length Measurement Systems Width Measurement of Rolls with SLM |
 |
APPLICATIONS
Measure piece lengths up to 5m
in transmitted light
Do you still measure piece lengths by hand in samples? Incoming and outgoing material edges ensure increased wear and...
Measure part length up to approximately 15 m
in transmitted light
The final measurement of very large parts is complex, staff-intensive, but still prone to error. If the maximum measu...
Length Measurement of long parts
in reflection
The measurement situation prevents the use of a transmitted light system for part length measurement? The space avail...
Measure part lengths
with free-form edges
You want to measure the length of parts with free-form edges? ... With the μVIS based 2D and 3D sensors a variety of ...
APPLICATION EXAMPLES
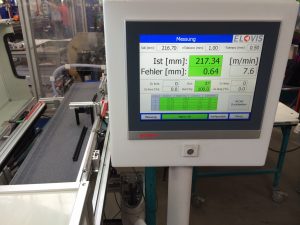
Length Measurement of profiles after cutting
High demands of the automotive, furniture, electronics or medical industry on the cutting accuracy of profiles make t...
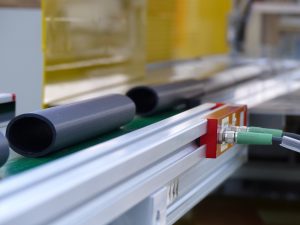
Length Measurement of pipes after cutting
The final measurement of all tubes after the cutting allows a shortening of the setup time of the cutting system and ...
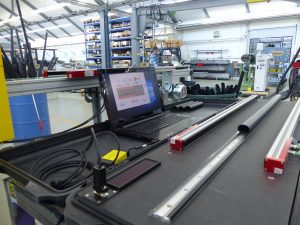
Test station for final part length measurement
If discrete part lengths are to be measured quickly and reliably and the measurement length has to be documented, the...
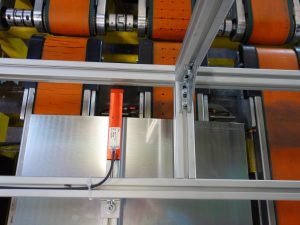
Length Measurement of sheets and plates
Metal sheets and boards are cut and then palletized. A final measurement is often done manually on the pallet stack. ...
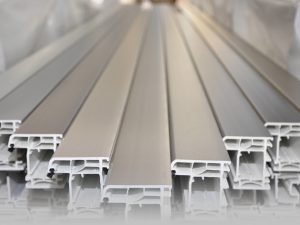
Length Measurement of window profiles
Window profiles with lengths between 2.5 m and 7 m should be cut as precisely as possible and checked directly after ...
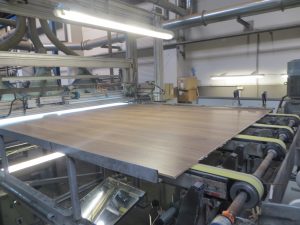
Measure the length of wood and chipboard
The woodworking industry is now confronted with high accuracy requirements. In order to make a profit, it is importan...
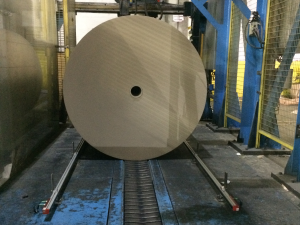
Width of paper rolls on the chain conveyor
Paper rolls are transported to the warehouse via chain conveyors after wrapping. Prior to storage, the rolls of paper...
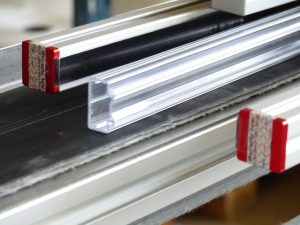
Length of transparent plastic profiles
Even the final length measurement of translucent plastic profiles is easily and accurately possible with the non-cont...
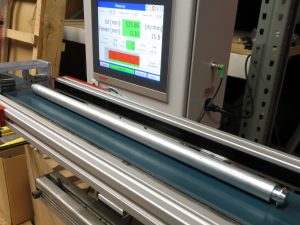
Measure the length of metal parts, pipes, bolts, slugs
Metal parts such as pipes, bolts, rods, slugs should have the correct part length. When operating presses and forging...
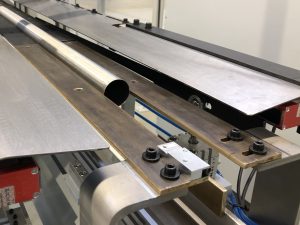
Weerth - cutting and measuring precision pipes and tubes
Weerth Handling Systeme manufactures systems for the non-cutting and burr-free cutting of metal pipes and tubes. For ...
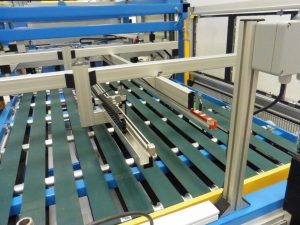
ROBUST - Foil cutting machine with part length measurement
ROBUST is specialized in slitting machines and winding technology. The product range includes roll slitting and windi...
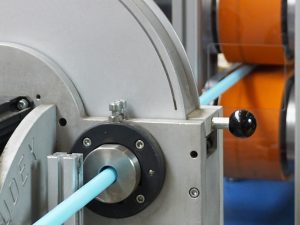
EXTRUDEX - extruder with guillotine and measuring unit
EXTRUDEX is a manufacturer of extruders and cutting devices. EXTRUDEX extruders are mainly used in the automotive and...
