Optical micrometer for width, height, thickness, diameter, gap and position
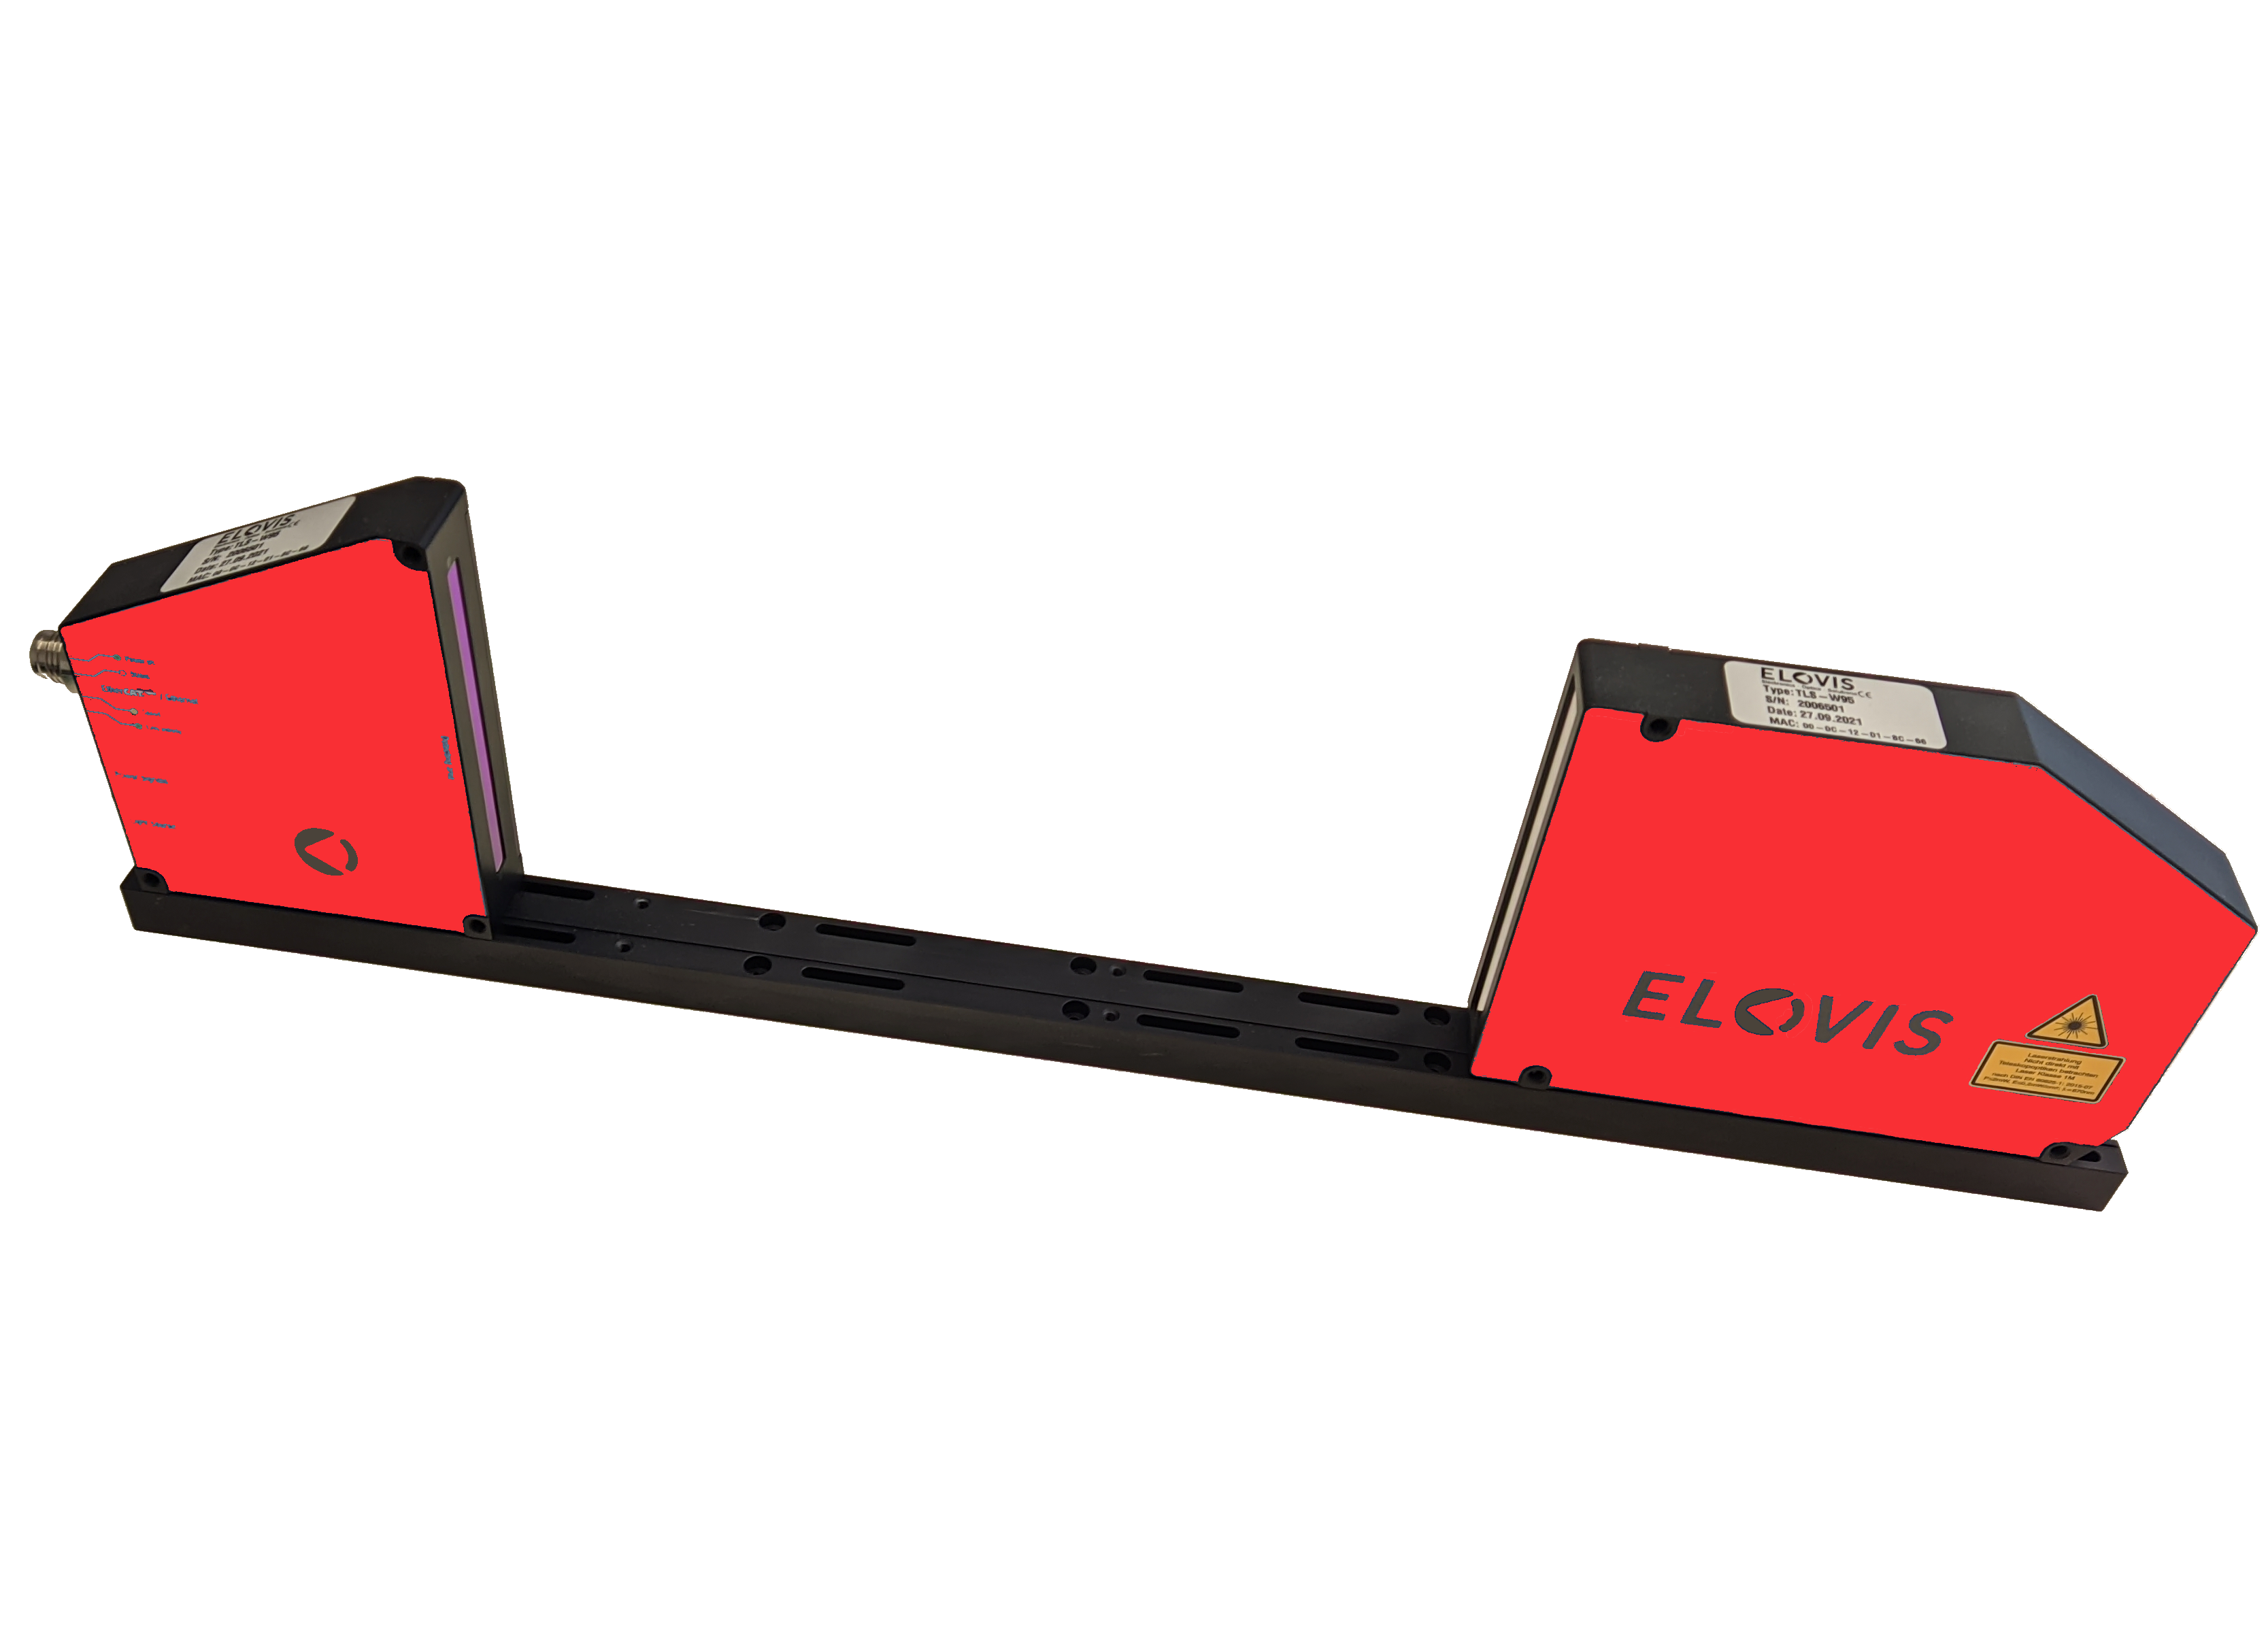
ELOVIS TLS-Wx sensors are optical micrometers, also called cross-sectional light scanners, which are used for dimensional measurements in manufacturing and quality control. Due to their transmitted light principle, the sensors offer extensive material and surface independence. TLS-Wx sensors measure both continuous material and piece goods with very high accuracy and high measuring rate. TLS-Wx sensors are designed for cascading in order to cover large sensing ranges with full measuring accuracy.
Measured variables such as width, diameter, gap, height, thickness, position, center position, edge distance and segments can be checked with TLS-Wx.
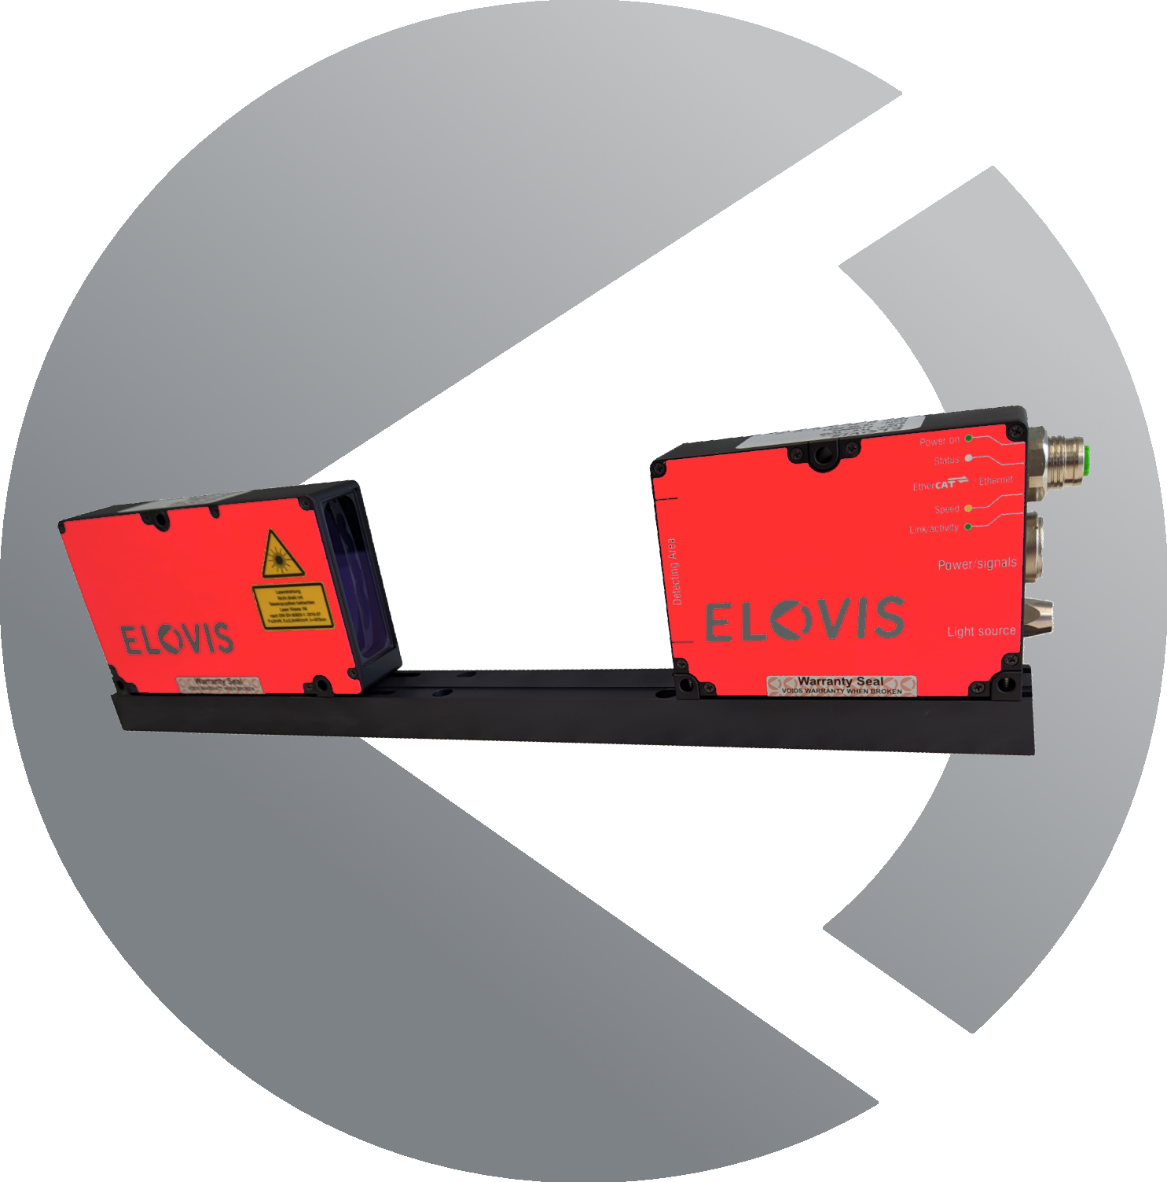
Product variants – 2D cross-sectional light scanner based on camera for width measurement
µMETER-X-TLS – Properties across all sensor typesWidth, height, diameter measuring systems for high-precision measurement
|
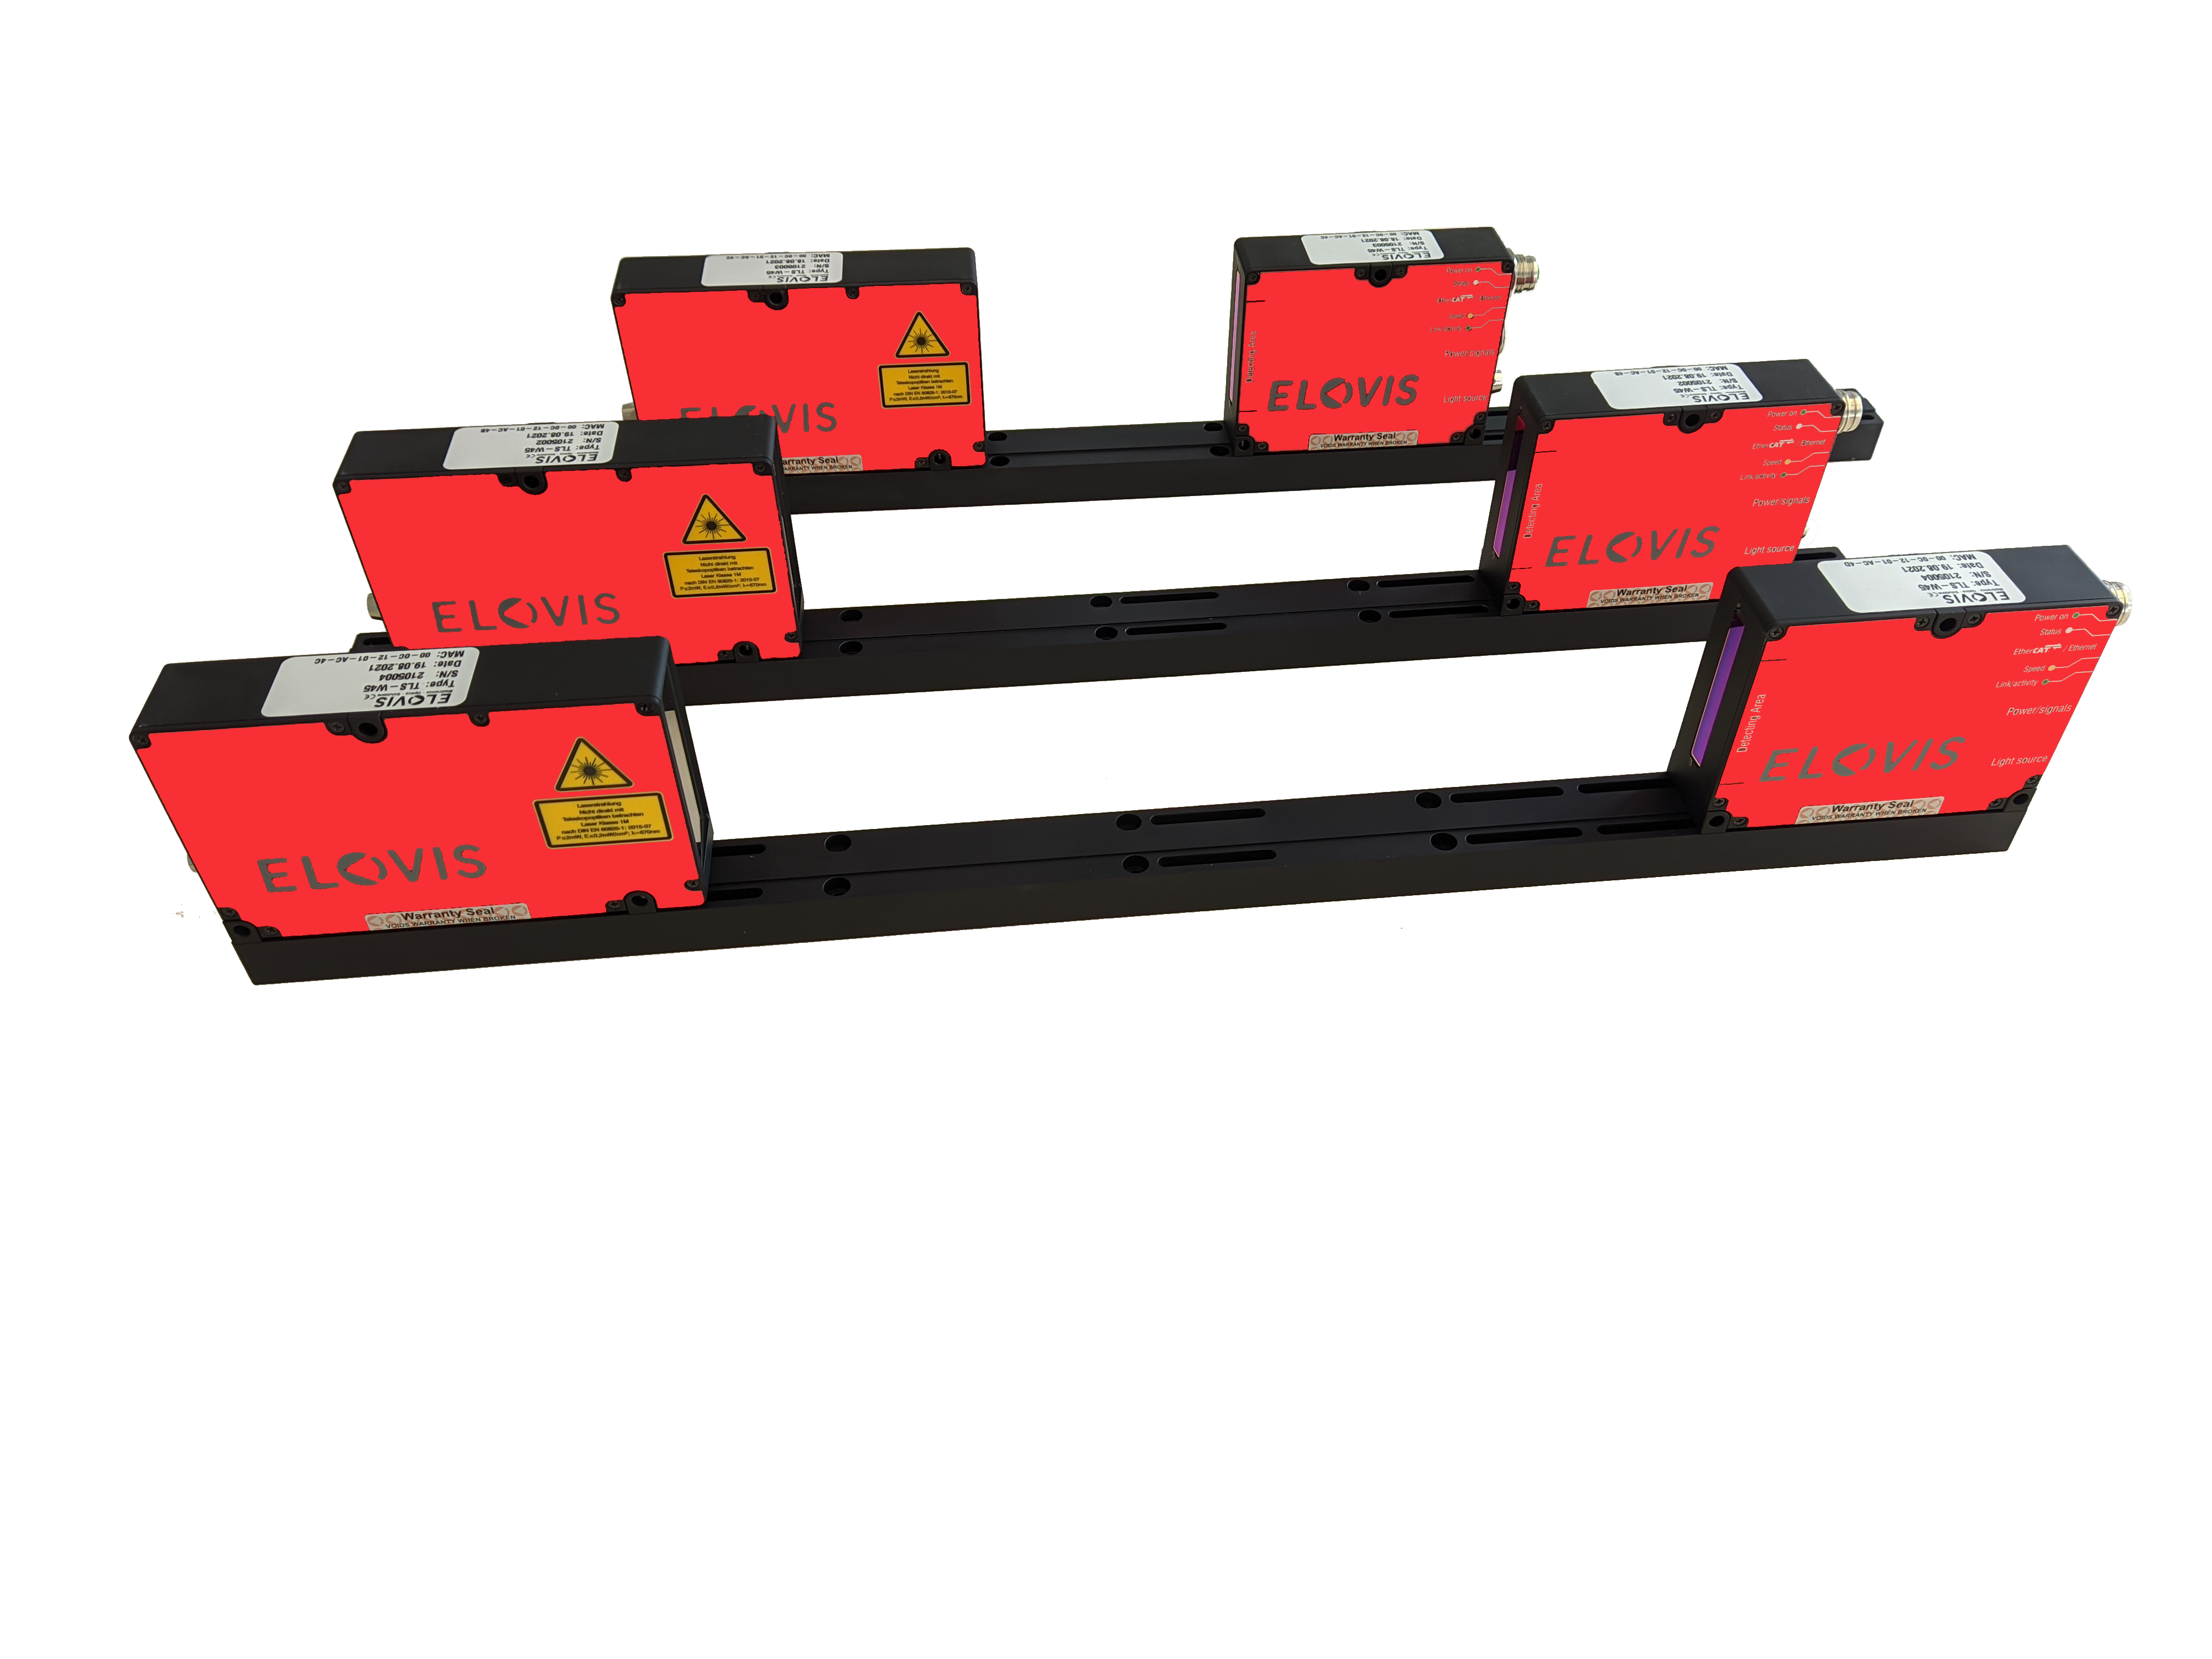 |
µMETER-X-TLS-W45
Width, height, diameter measuring systems for high-precision measurement
|
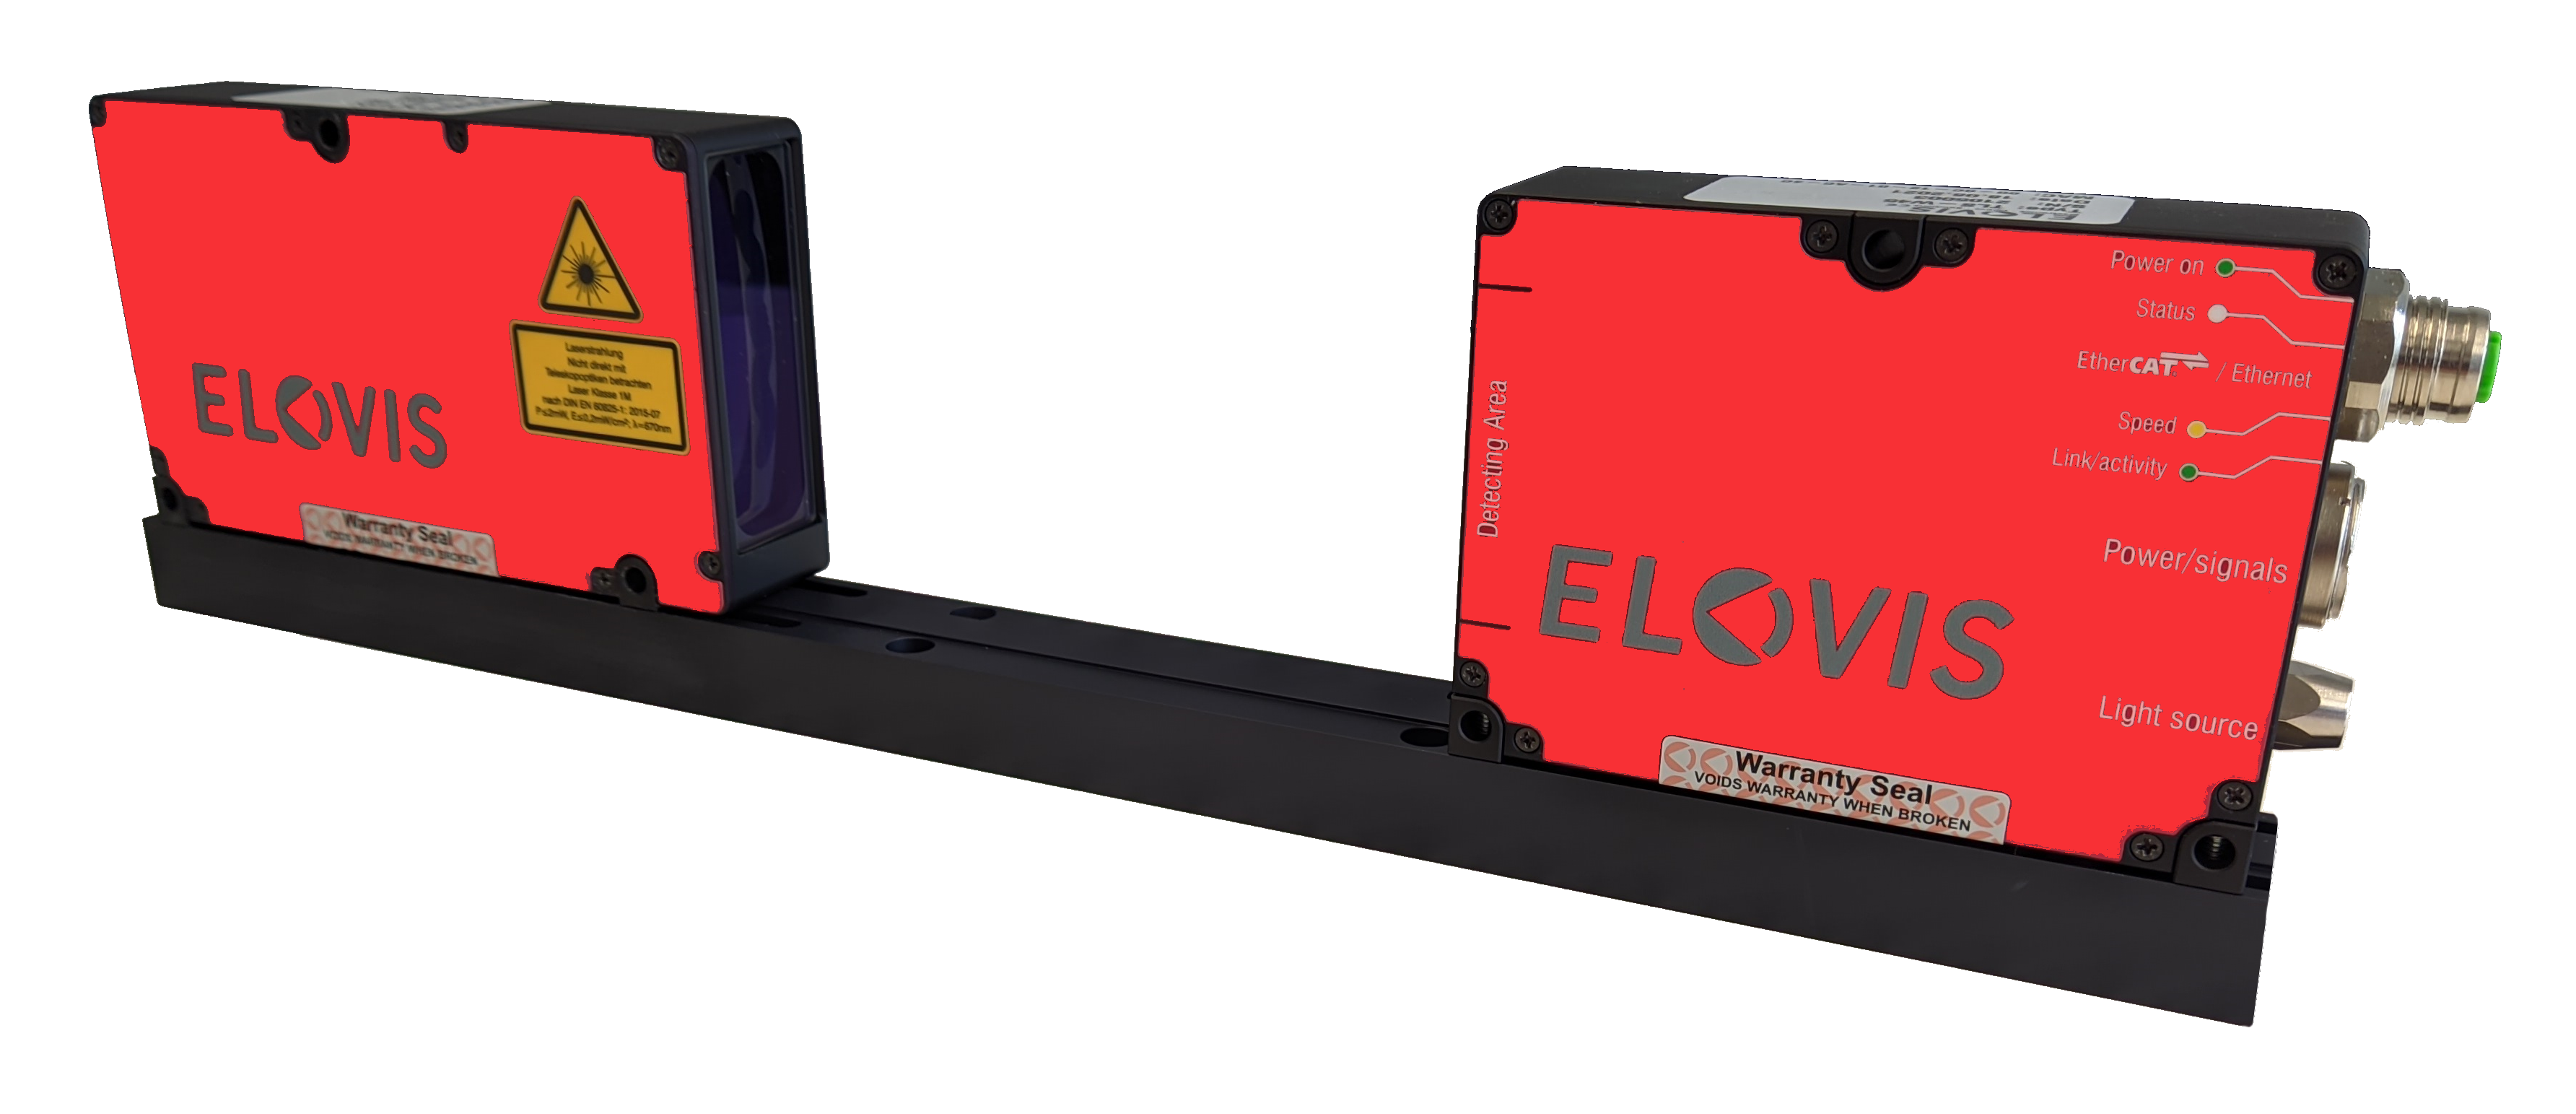 |
µMETER-X-TLS-W95Width, height, diameter measuring systems for high-precision measurement
|
 |
Technical data – 2D cross-sectional light scanner based on camera for width measurement
| µMETER-X: | TLS-W45 | TLS-W95 |
| System Components | Transmitted light scanner (transmitter and receiver) | Transmitted light scanner (transmitter and receiver) |
| Product Types | different measuring field sizes | different measuring field sizes |
| Measurement Field (Width) | 45 mm | 95 mm |
| Measurement Field (Depth) | 100 mm up to 1900 mm | 100 mm up to 1900 mm |
| Measurement Resolution | 1 µm (Linearity: +/- 10 µm) | 2 µm (Linearity: +/- 15 µm) |
| Repeatability | < 5 µm | < 7 µm |
| Arrangement of the Sensor System | horizontally, vertically or also diagonally | horizontally, vertically or also diagonally |
| Measurement Frequency | up to 2500 Hz | up to 2000 Hz |
| Measurement Distance between Gauge and Measurement Object | 20 mm to 150 mm | 20 mm to 150 mm |
| Interfaces | Ethernet/EtherCAT | Ethernet/EtherCAT |
| I/Os | Input: Trigger Output: Sync |
Input: Trigger Output: Sync |
| I/O Type | not galvanically isolated 24 V logic (HTL), high level dependent on operating voltage | not galvanically isolated 24 V logic (HTL), high level dependent on operating voltage |
| Available Data | Measured values, status | Measured values, status |
| Fieldbus | Optional:
Profibus-DP, ProfiNet-RT, Ethernet-IP |
Optional:
Profibus-DP, ProfiNet-RT, Ethernet-IP |
| Protection Class | IP64 | IP64 |
| Dimensions (LxWxH) |
depending on maximum measuring field size | depending on maximum measuring field size |
| Power Supply | 24 VDC (11 … 30 VDC) | 24 VDC (11 … 30 VDC) |
| Weight | 1,5 kg | 2,5 kg |
| Light Wavelength and Category | 1M, 670 nm (red) – according to DIN EN 60825-1 : 2015-07 | 1M, 670 nm (red) – according to DIN EN 60825-1 : 2015-07 |
| Ambient Temperature | 0 to 50°C – non-condensing, outside temperature range external cooling / heating required | 0 to 50°C – non-condensing, outside temperature range external cooling / heating required |
| Humidity | Environment should be dry, no condensation | Environment should be dry, no condensation |
Accessories – 2D Cross-Section Light Scanner for width measurement
Standard Interface |
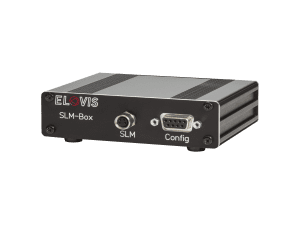
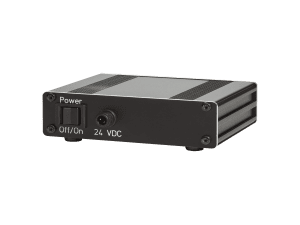
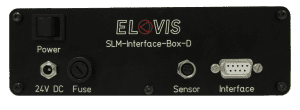
| Interface Box for PC Operation
µMETER-X-BOX |
Interface box for connecting the sensor to a PC or laptop. Allows for easy connection and supply of the sensor. With RS485 output interface and plug-in power supply. |
Sensor Cable |
| Shielded Cables
µMETER-X-K3, K10 |
Sensor cable for connection to an interface such as µMETER-X-Box or bus module, a controller or a display. | 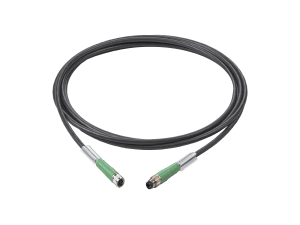 |
Displays and Control Units |
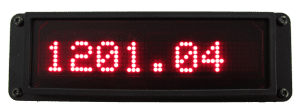
| Display of Measurement Values
µMETER-X-DISPLAY-BOX |
Interface box with measurement value display for connecting the sensor system to a PC or laptop. Box with RS485 output interface and plug-in power supply. | |
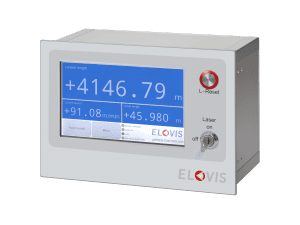
| Control/Control Unit
µMETER-X-CONTROLLER |
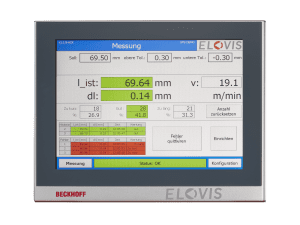
Display and Control Unit for the sensors provide the following features:
|
|
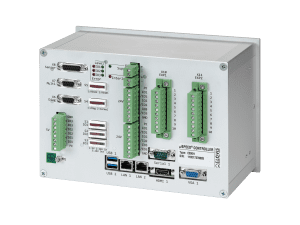
| Sorting Control
µMETER-X-SPS |
The SPS sorting control for the µMETER-X sensors provide the following features:
|
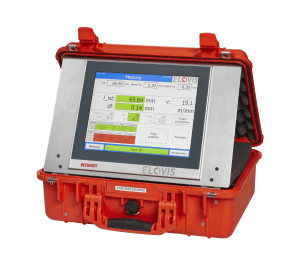
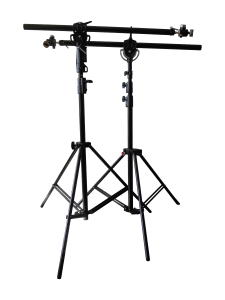
Mobile Equipment |
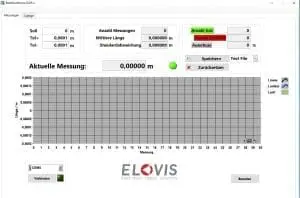
Software |
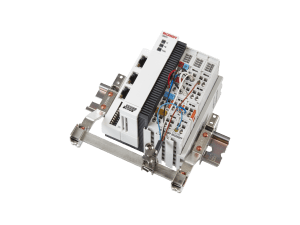
Fieldbus and Communication Modules |
| Profibus-DP, ProfiNet-RT, Ethernet-IP
µMETER-XPB, -PN, -EN |
Standard bus interface modules with the following output: Measurement Value (in m) , Speed (in m/s), Status Signal (valid/invalid) |
Optical micrometer for width, height, thickness, diameter, gap and position
The material to be measured passes through the measuring range of the µMETER-X system, which is mounted transversely to the conveying direction, in the longitudinal direction. The respective cross-sectional dimension is determined automatically and continuously. In order for the measurement to be performed with high accuracy, the material to be measured must be clean and dry. In addition, the measured object should pass through the µMETER-X system as straight as possible. The measuring principle can be described as an optical micrometer / measuring transverse light sensor for measurement in the production run. The TLS system is based on shading of the light emitted by the light transmitter by the measuring material.
Videos – 2D Camera-Based Cross-Section Light Scanner for width measurement
Product Video
Application Video
Downloads – 2D Camera-Based Cross-Section Light Scanner for width measurement
Product Brochure µMETER-X-V2D -> please contact ELOVIS
APPLICATIONS
Width, height, diameter
of profiles
Do you measure the widths and heights of profiles in random samples, because optical micrometers can only cope with p...
Widths Measurement of webs, strips and boards
Widths of webs, tapes and plates are usually measured by hand in random sample inspections because contact measuremen...
Width Height Edge
Distances in Incident Light
The measurement situation prevents the use of a transmitted-light system for the measurement of widths and heights or...
Measure Free-Forms
and Profiles 2D / 3D
You want to measure geometries on flat free-forms in two dimensions or on free-form surfaces in three dimensions? ......
APPLICATION EXAMPLES

Dimension of extrusion profiles
The early knowledge of the profile dimensions, such as height, width, gap dimensions, ... helps to timely counteract ...

Width measurement of bitumen membranes and roofing membranes
Bituminous sheeting and roofing membranes are to be tested for correct width in production. Width errors that already...

Width and thickness for narrow web/strap
Strapping, web or belt should be checked for correct width and correct thickness. Width and thickness errors that alr...
