3D Cross-Section Light Scanner for Width Height Diameter Measurement
The VIS/3D sensors from ELOVIS work on the basis of non-contact edge sensing transversely to movement direction of the measurement object. In addition to the width information, the 3D sensor concept also enables depth information, which can also be used to measure a material thickness or height. Width measurements can thus be made e.g. independent of thickness. The precise measurement in the cross-section light sensor is used for production monitoring, process optimization and documentation of the delivery status of the produced goods. VIS/3D systems are maintenance-free, permanently calibrated and measure largely independent of material. As a kind of “optical micrometer”, VIS/3D systems are used for cross-section measurement, width, height, diameter determination of strips, profiles, tubes, plates, beams, bolts, rolls made of different materials.
Product Types – Camera-Based 3D Cross-Section Light Scanner for Thickness and Width Measurement
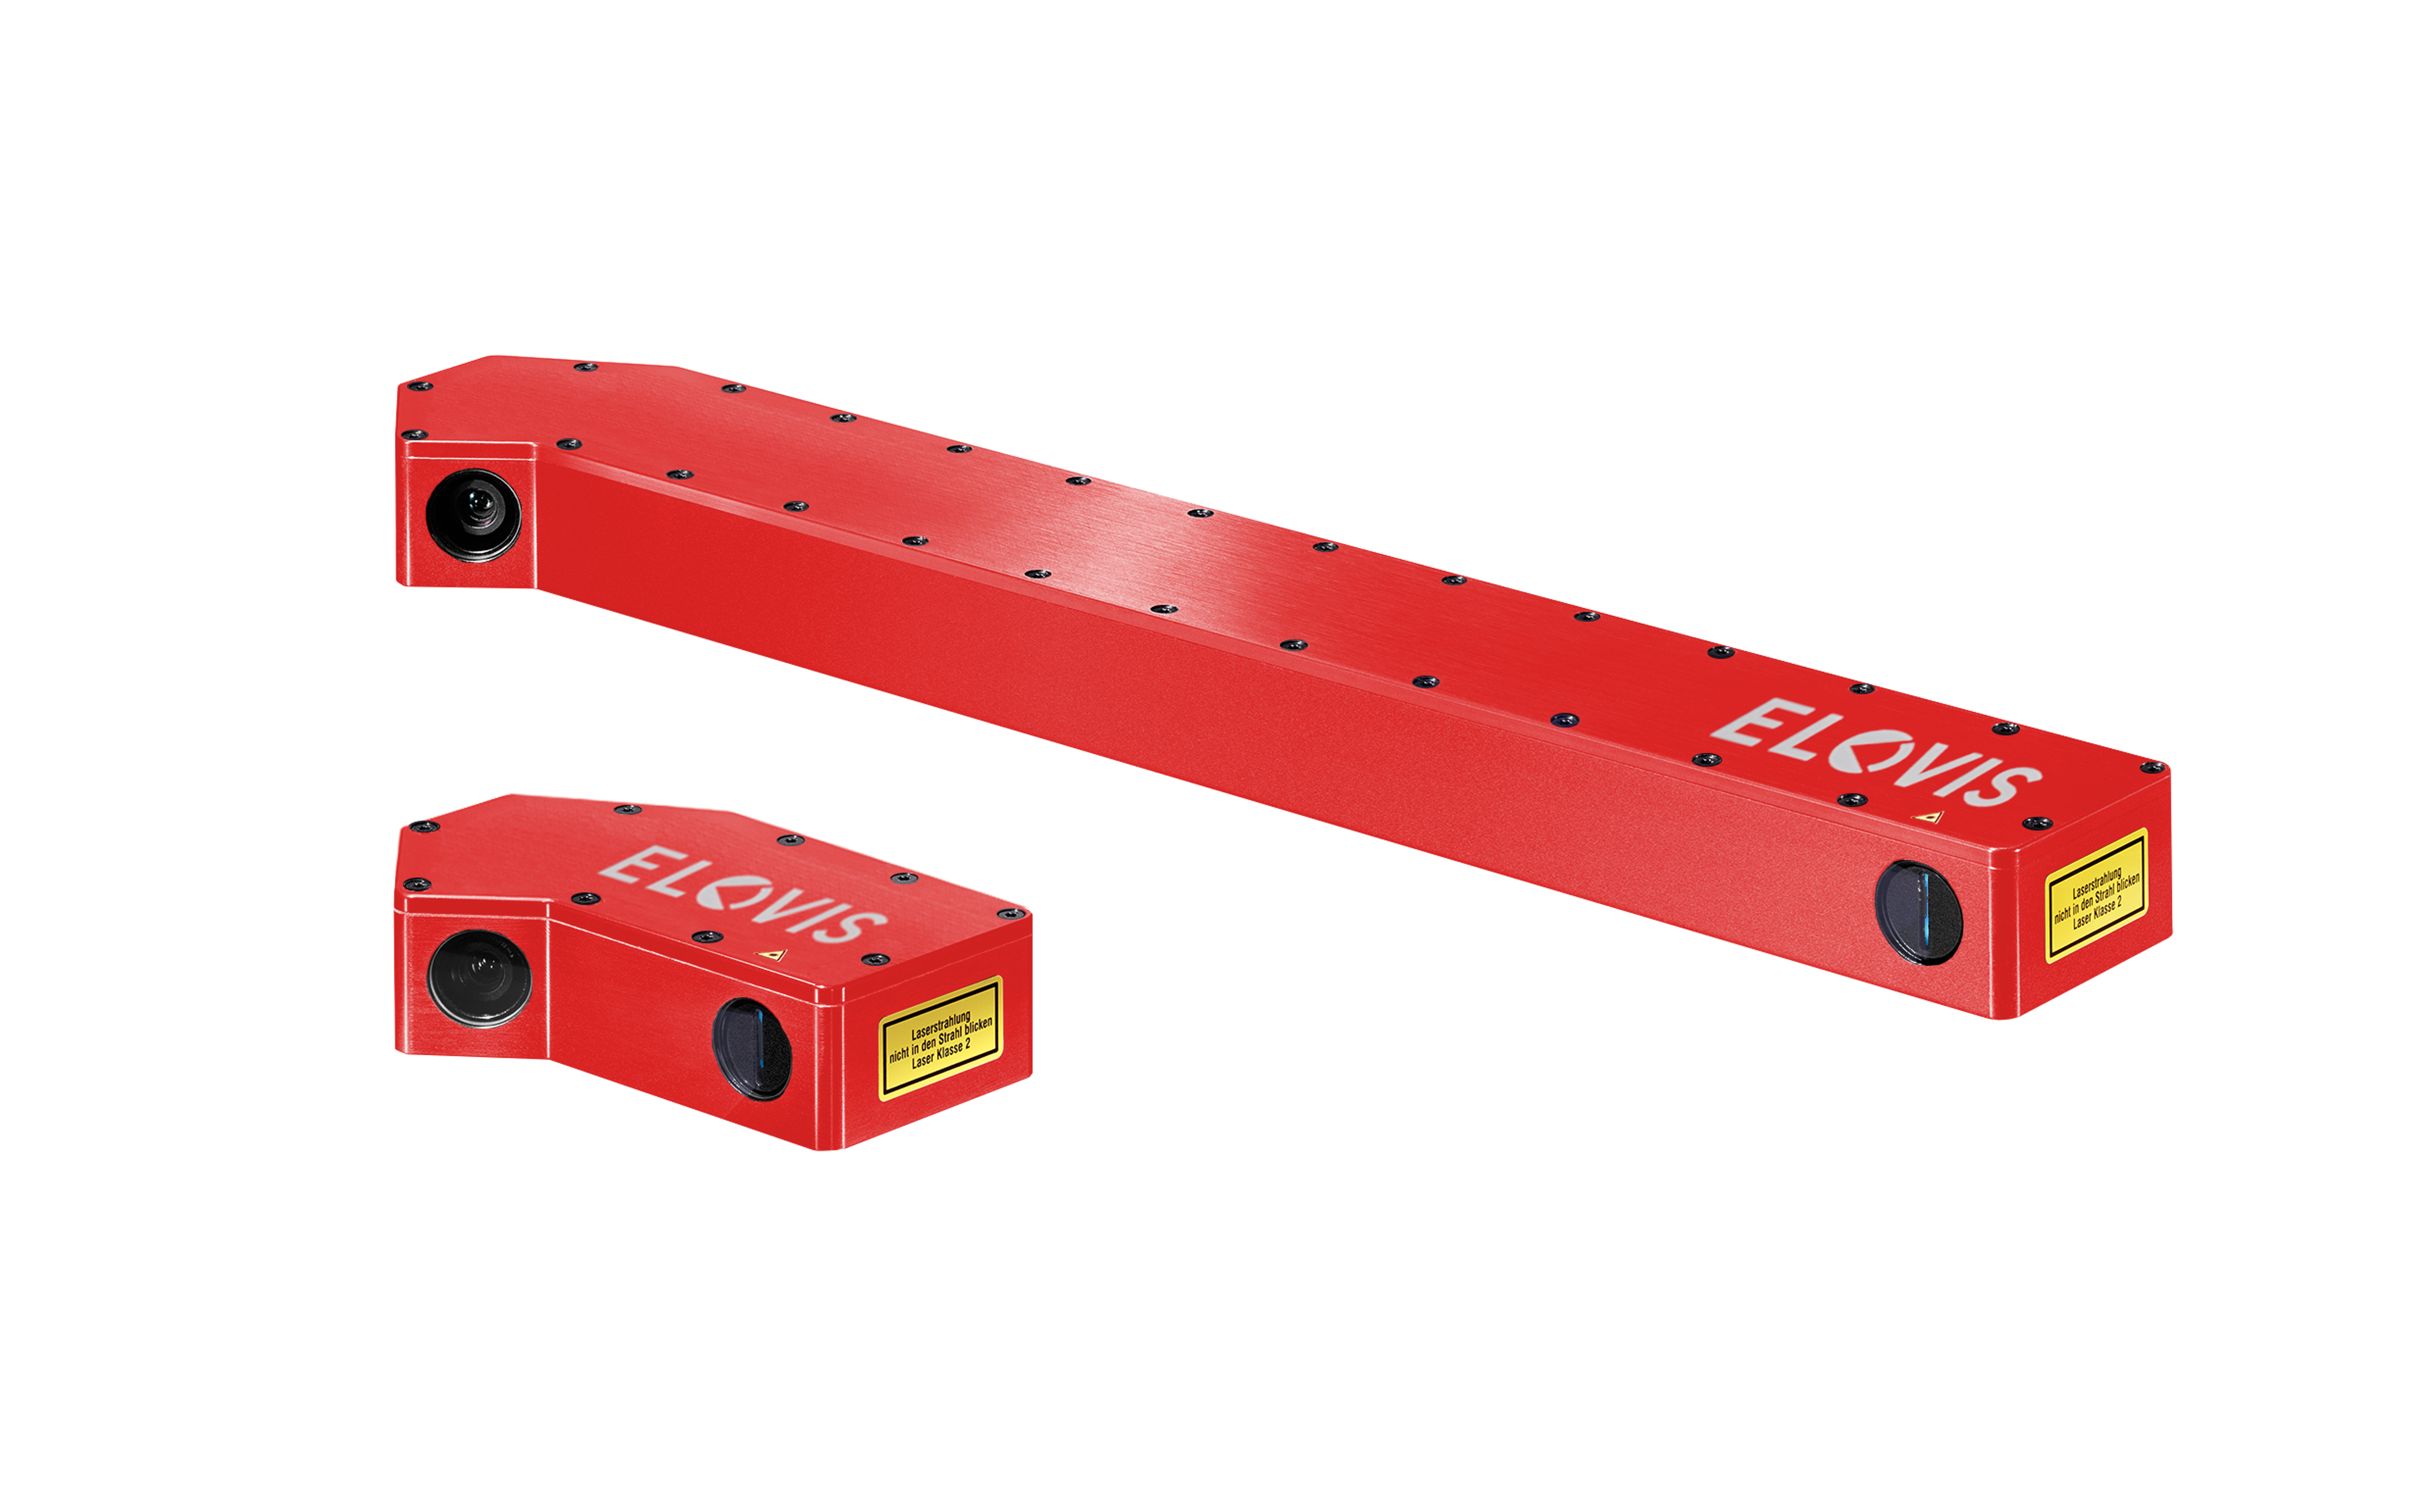
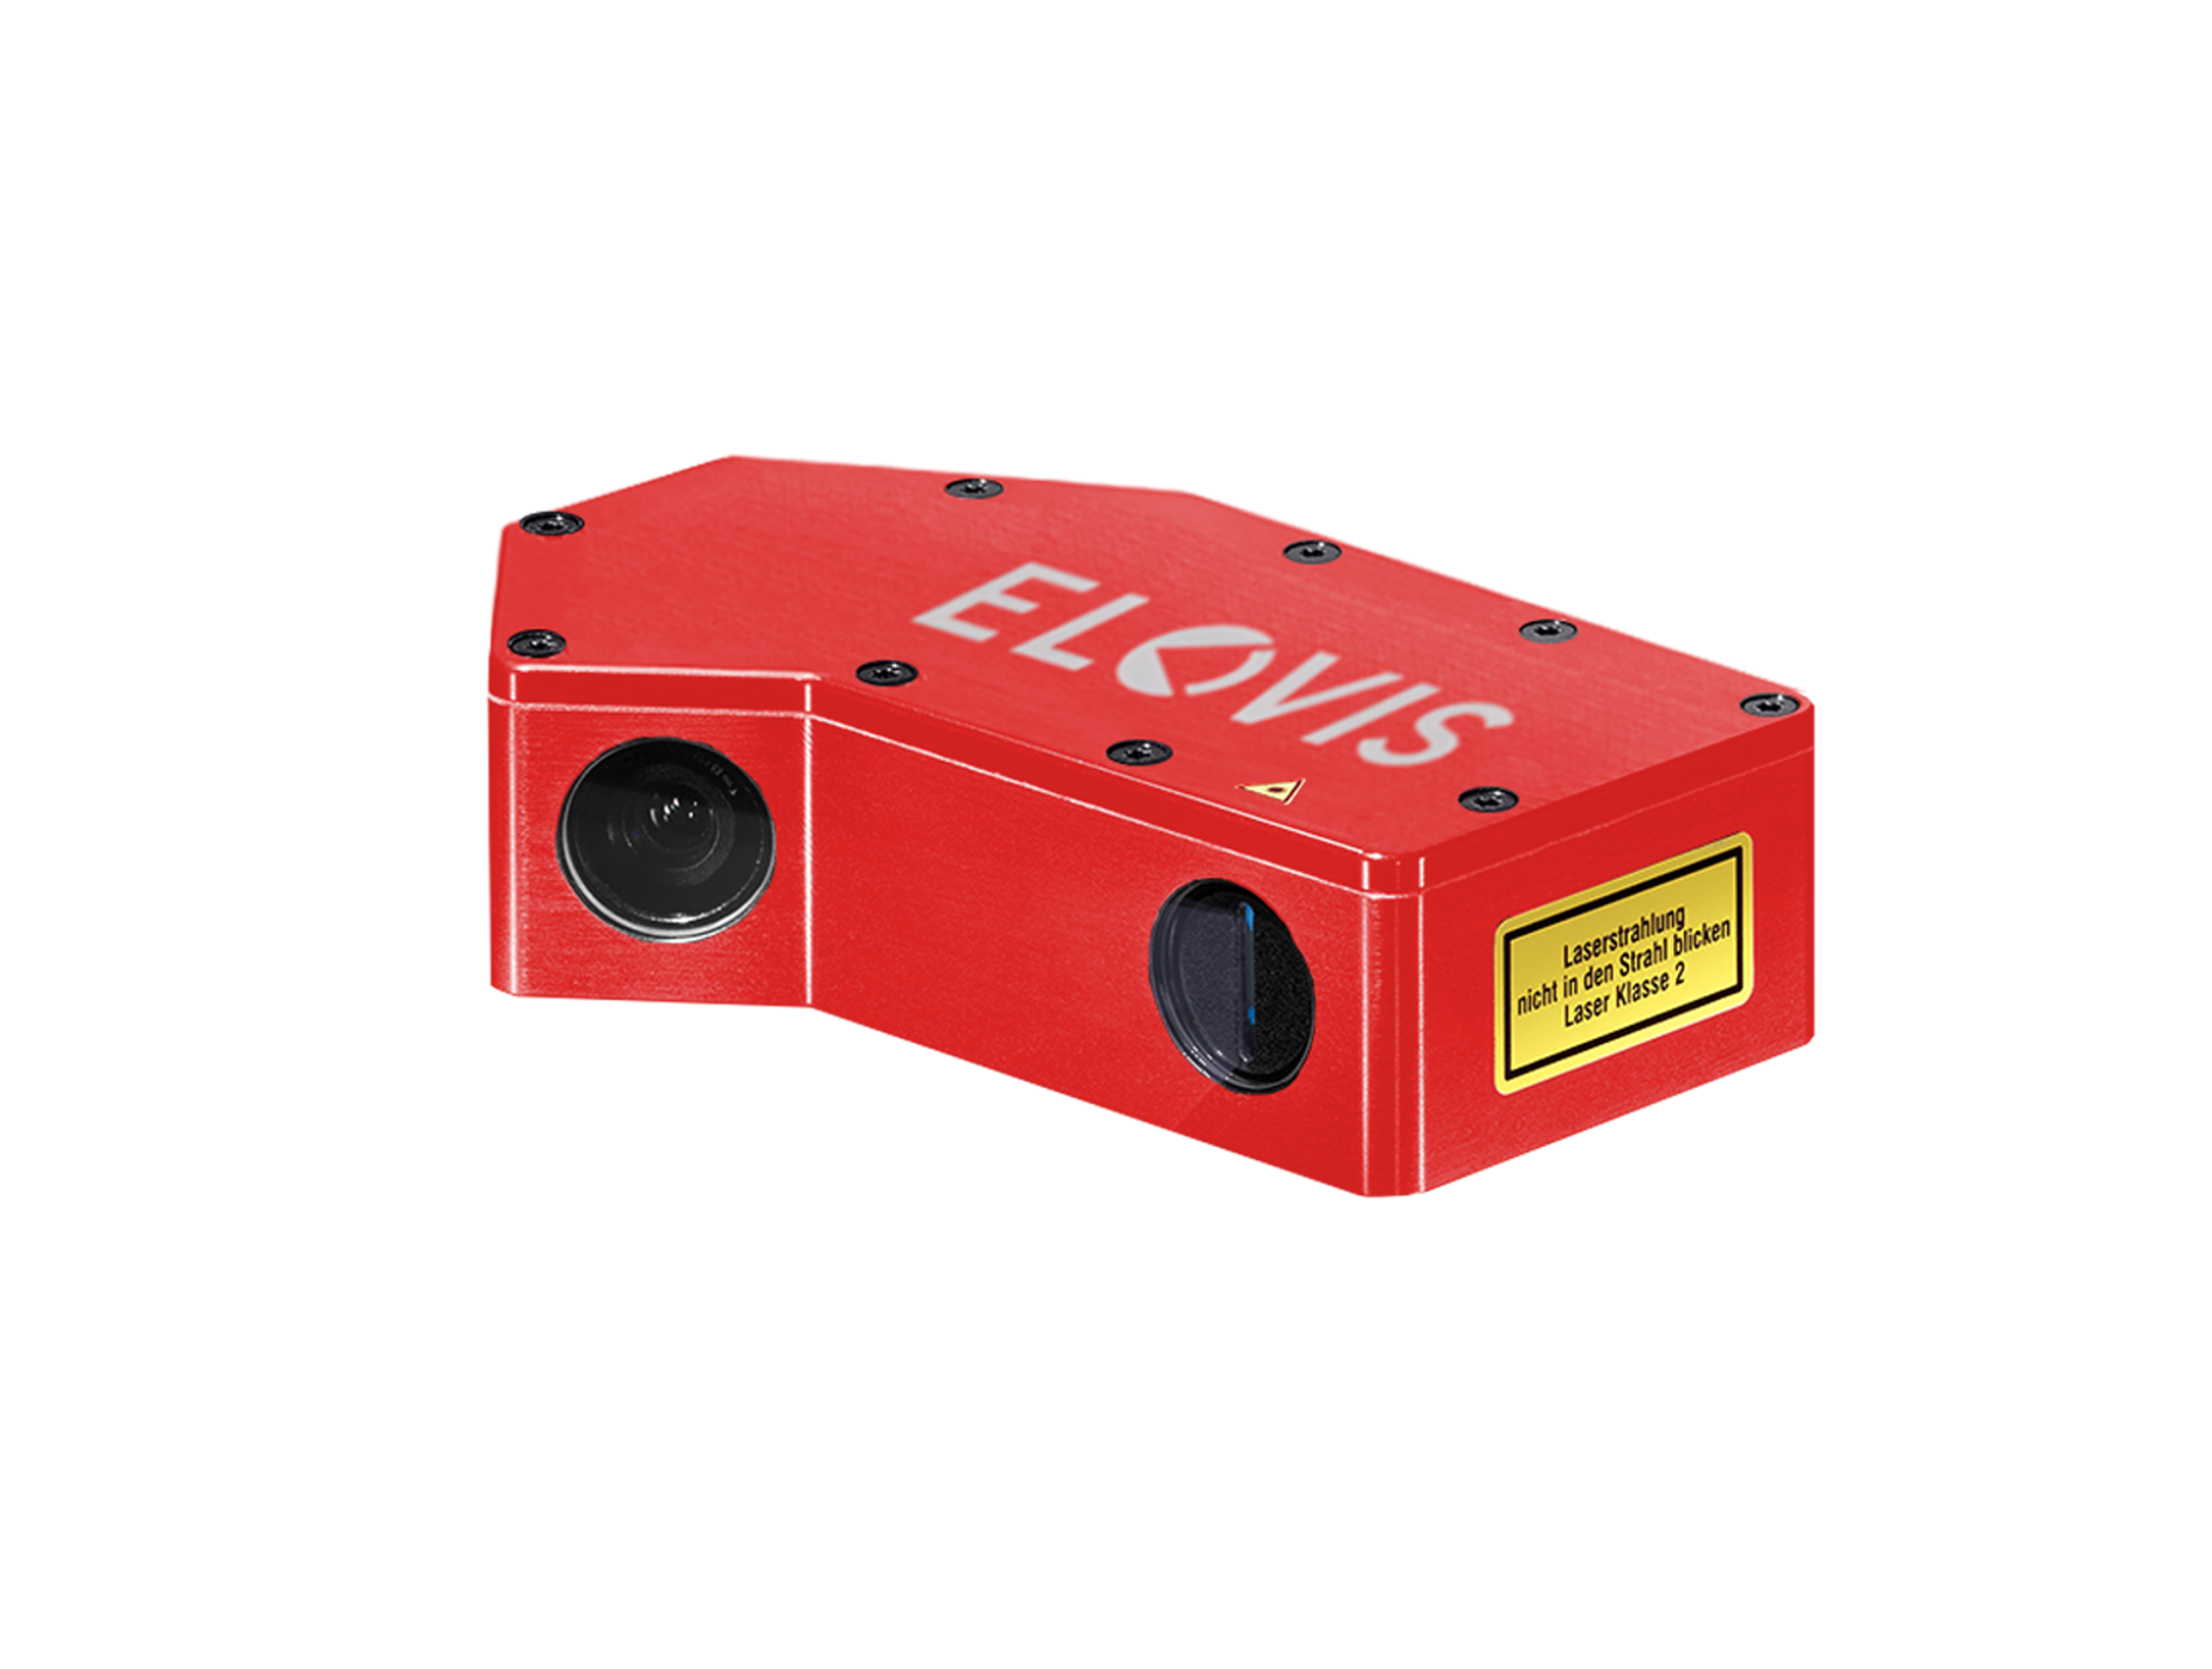
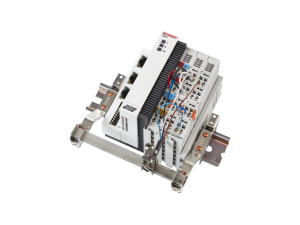
Example sensor – for small measurement widths up to 125 mm
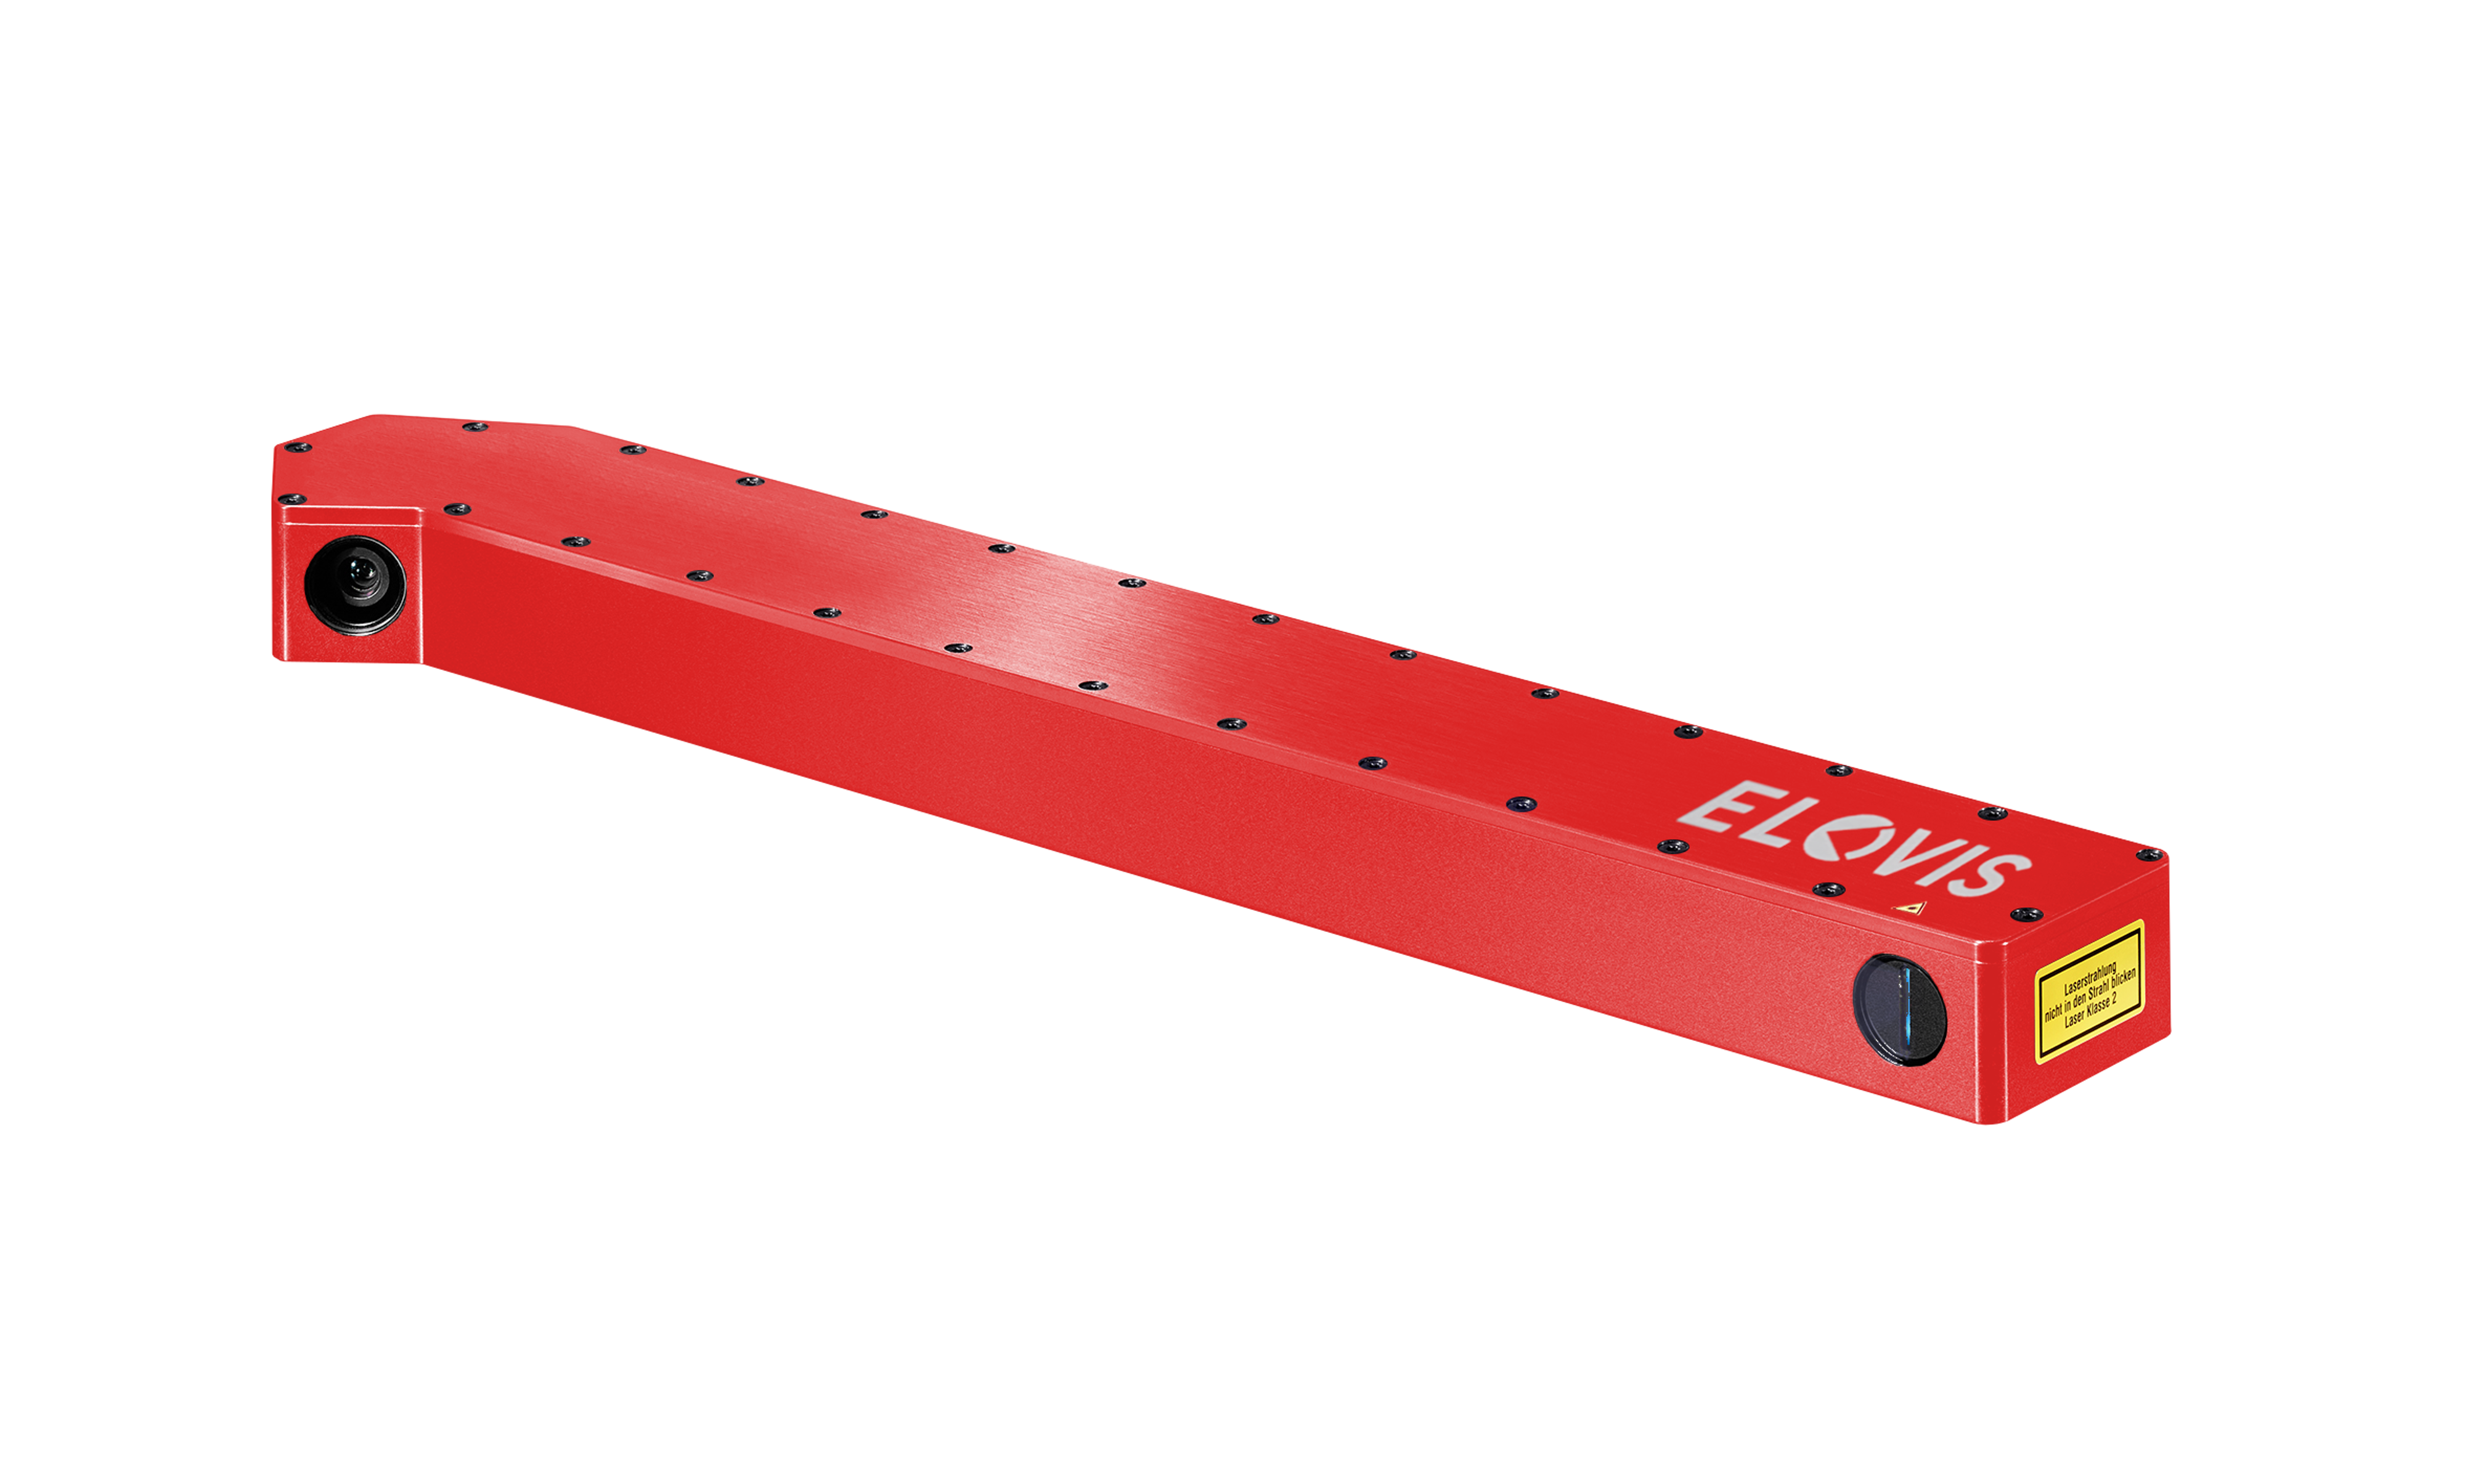
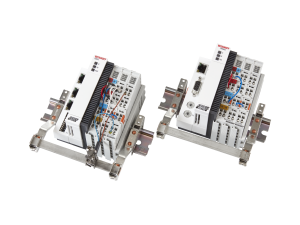
Example sensor – for large measurement widths of up to 1250 mm
Technical Data – Camera-Based 3D Cross-Section Light Scanner for Thickness and Width Measurement
| µMETER-X: | VIS/3D-Wx |
| System Components | intelligent 3D vision sensor with integrated processor |
| Product Types | different measurement field sizes |
| Measuring field size (width) | 60 mm to 1.250 mm |
| Measuring field resolution (width) | ± 0,05 mm to ± 0,9 mm |
| Measuring field size (depth) | 80 mm to approx. 2.000 mm |
| Measuring field resolution (depth) | ± 0,01 mm to ± 0,5 mm |
| Repeatability | typical: ± 0,1% (confidence interval 1σ) |
| Arrangement of the Sensor System | horizontal, vertical or diagonal |
| Measurement frequency | up to 1000 Hz |
| Measurement Distance between Gauge and Measurement Object | 80 mm to 2.000 mm |
| Interfaces | Ethernet 1 Gbit / 100 Mbit / 10 Mbit |
| I/Os | Input: Start, Calibration Output: Status |
| I/O Type | RS‐422 Gauge |
| Available Data | Measurement values, signal quality, status, valid measurement |
| Fieldbus | Optional: Profibus-DP, ProfiNet‐RT, Ethernet‐IP, … |
| Protection Class | IP50 |
| Dimensions (LxWxH) |
depending on maximum measurement field size |
| Power Supply | 12 – 24 VDC |
| Weight | depending on maximum measurement field size |
| LED Data | Class 2 Laser , <100 mW, 450 nm wavelength |
| Ambient Temperature | 0 to 50°C ‐ not condensing, beyond of temperature range external cooling/heating required |
| Humidity | Environment should be dry, no condensation |
Accessories – Camera-Based 3D Cross-Section Light Scanner for Thickness and Width Measurement
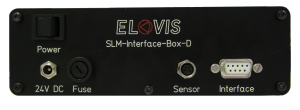
Standard Interface |
|
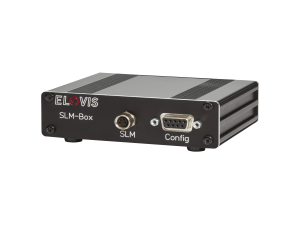
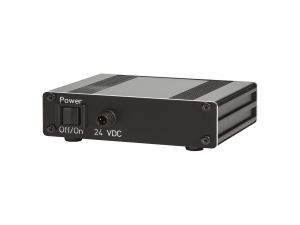
Interface Box for PC Operation µMETER-X-BOX |
Interface box for connecting the sensor to a PC or laptop. Allows for easy connection and supply of the sensor. With RS485 output interface and plug-in power supply. |
Sensor Cable |
| Shielded Cables
µMETER-X-K3, K10 |
Sensor cable for connection to an interface such as µMETER-X-Box or bus module, a controller or a display. | 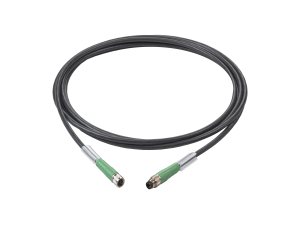 |
Displays and Control Units |
| Display of Measurement Values
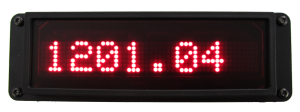
µMETER-X-DISPLAY-BOX |
Interface box with measurement value display for connecting the sensor system to a PC or laptop. Box with RS485 output interface and plug-in power supply. | |
| Control/Control Unit
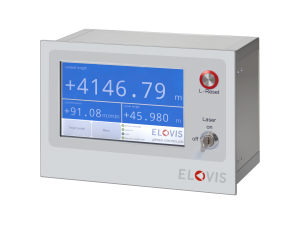
µMETER-X-CONTROLLER |
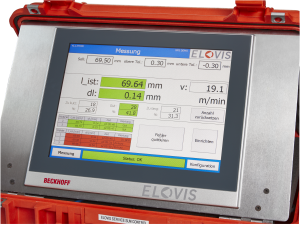
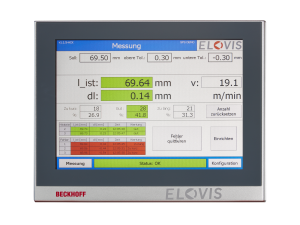
Display and Control Unit for the sensors provide the following features:
|
|
| Sorting Control
µMETER-X-SPS |
The SPS sorting control for the µMETER-X sensors provide the following features:
|
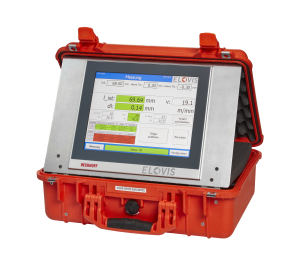
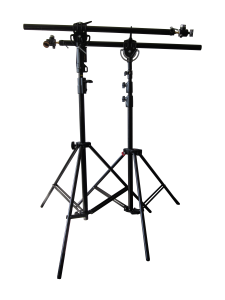
Mobile Equipment |
Software |
Fieldbus and Communication Modules |
| Profibus-DP, ProfiNet-RT, Ethernet-IP
µMETER-XPB, -PN, -EN |
Standard bus interface modules with the following output: Measurement Value (in m) , Speed (in m/s), Status Signal (valid/invalid) |
3D Cross-Section Light Scanner for Width Height Diameter Measurement
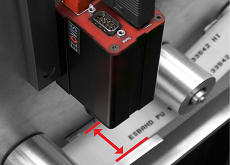
The material to be measured passes through the measurement area across the conveying direction of the µMETER-X System in longitudinal direction. As soon as the material is located on the same height as the sensor, the corresponding cross-sectional dimension is automatically and continuously determined. To ensure that the measurement can take place with high accuracy, the measurement material has to be as clean and dry as possible. In addition, the measurement object should pass the µMETER-X system as straight as possible. The measurement principle can be described as optical micrometer / measuring cross-section light scanner for measurements in the production cycle. The µVIS-3D system is based on a laser light-section concept in incident light. But the µVIS-3D system can also process transmitted light information. The µVIS-2D system is based on shading of a reflector by the measuring material.
Videos – Camera-Based 3D Cross-Section Light Scanner for Thickness and Width Measurement:
Product Video
Application Video
Downloads – Camera-Based 3D Cross-Section Light Scanner for Thickness and Width Measurement
Product Brochure µMETER-X -> please contact ELOVIS!
APPLICATIONS
Width, height, diameter
of profiles
Do you measure the widths and heights of profiles in random samples, because optical micrometers can only cope with p...
Widths Measurement of webs, strips and boards
Widths of webs, tapes and plates are usually measured by hand in random sample inspections because contact measuremen...
Width Height Edge
Distances in Incident Light
The measurement situation prevents the use of a transmitted-light system for the measurement of widths and heights or...
Measure Free-Forms
and Profiles 2D / 3D
You want to measure geometries on flat free-forms in two dimensions or on free-form surfaces in three dimensions? ......
APPLICATION EXAMPLES
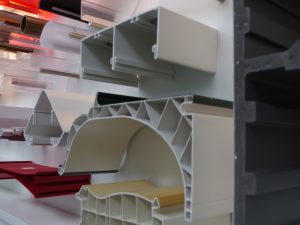
Dimension of extrusion profiles
The early knowledge of the profile dimensions, such as height, width, gap dimensions, ... helps to timely counteract ...
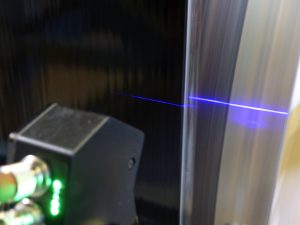
Width measurement of bitumen membranes and roofing membranes
Bituminous sheeting and roofing membranes are to be tested for correct width in production. Width errors that already...
